Working Guide Of The MailsDaddy PST To Office 365 Tool
Working Guide of the MailsDaddy PST to Office 365 Migration Software.
Export to Primary Mailbox (6 Steps)
Click on any screenshot to view full resolution.
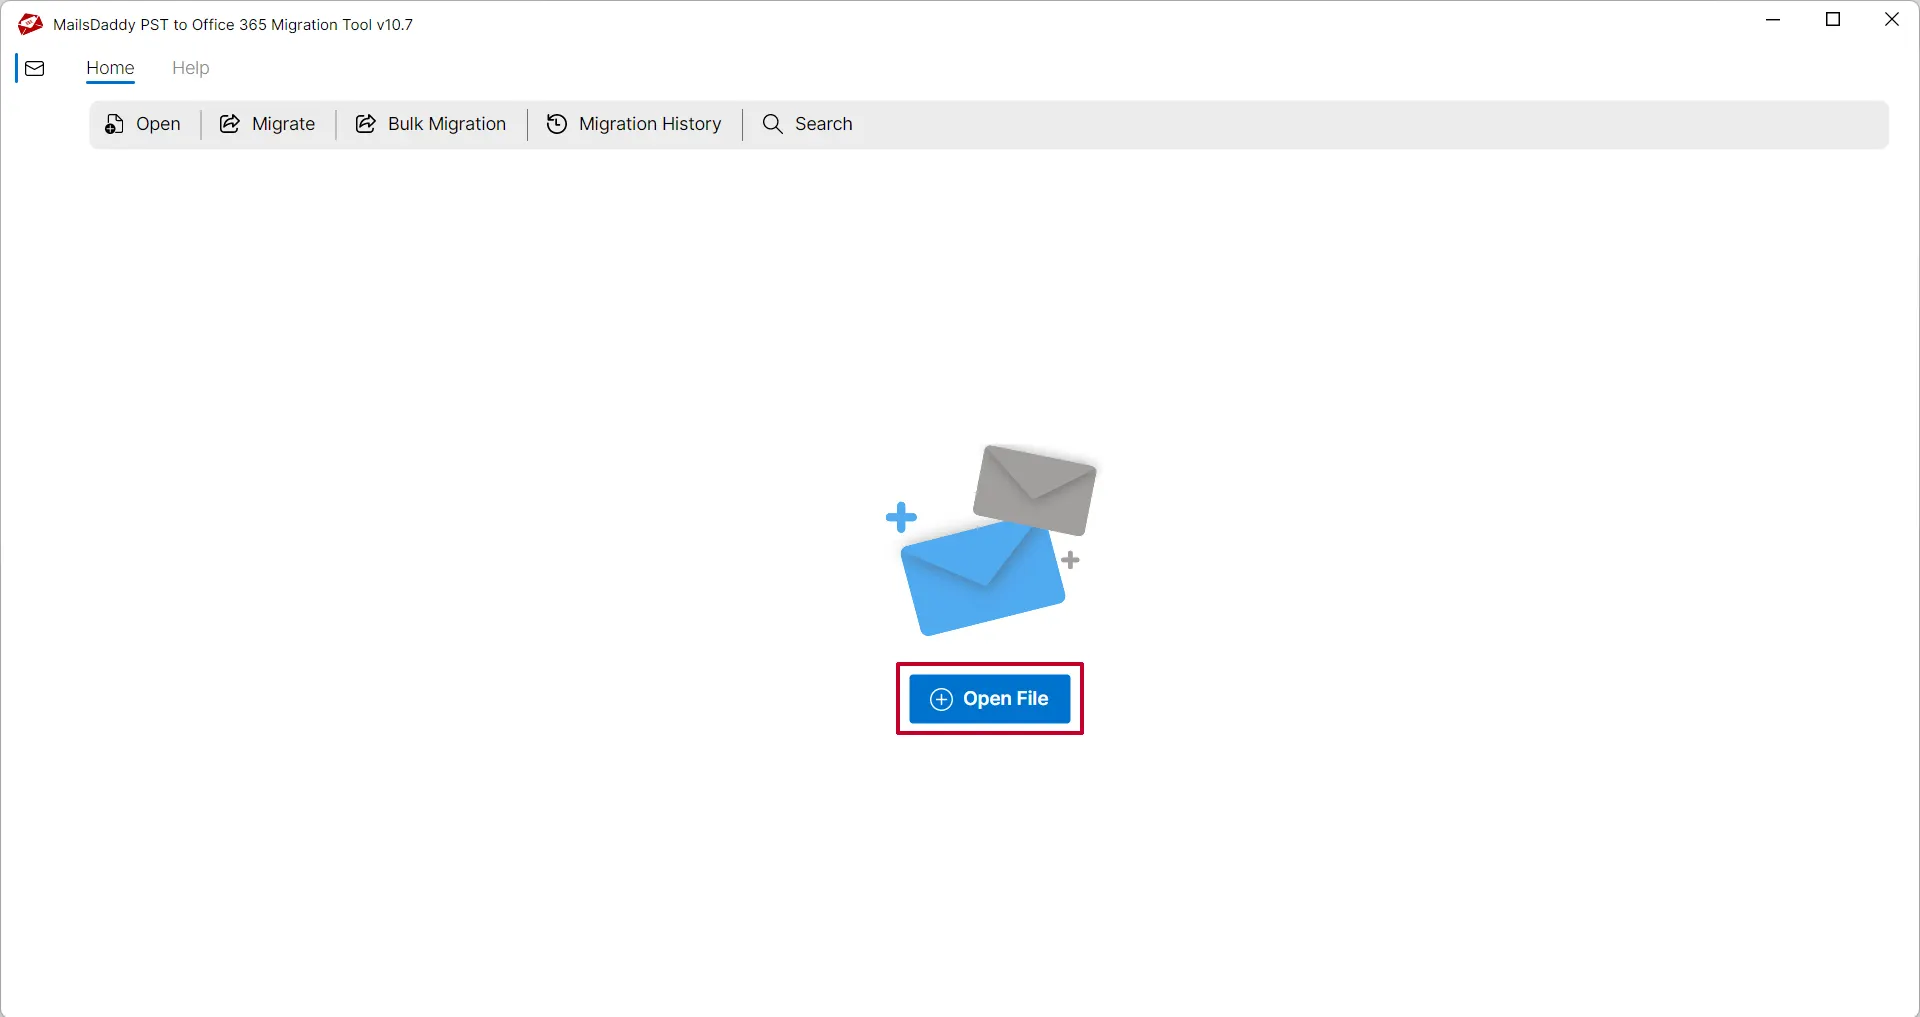
Launch the software and click on Open mailbox button to browse the Outlook PST file
Launch the software and click on Open mailbox button to browse the Outlook PST file. You can also search Outlook PST file from a specific folder/drive by clicking on Search icon.
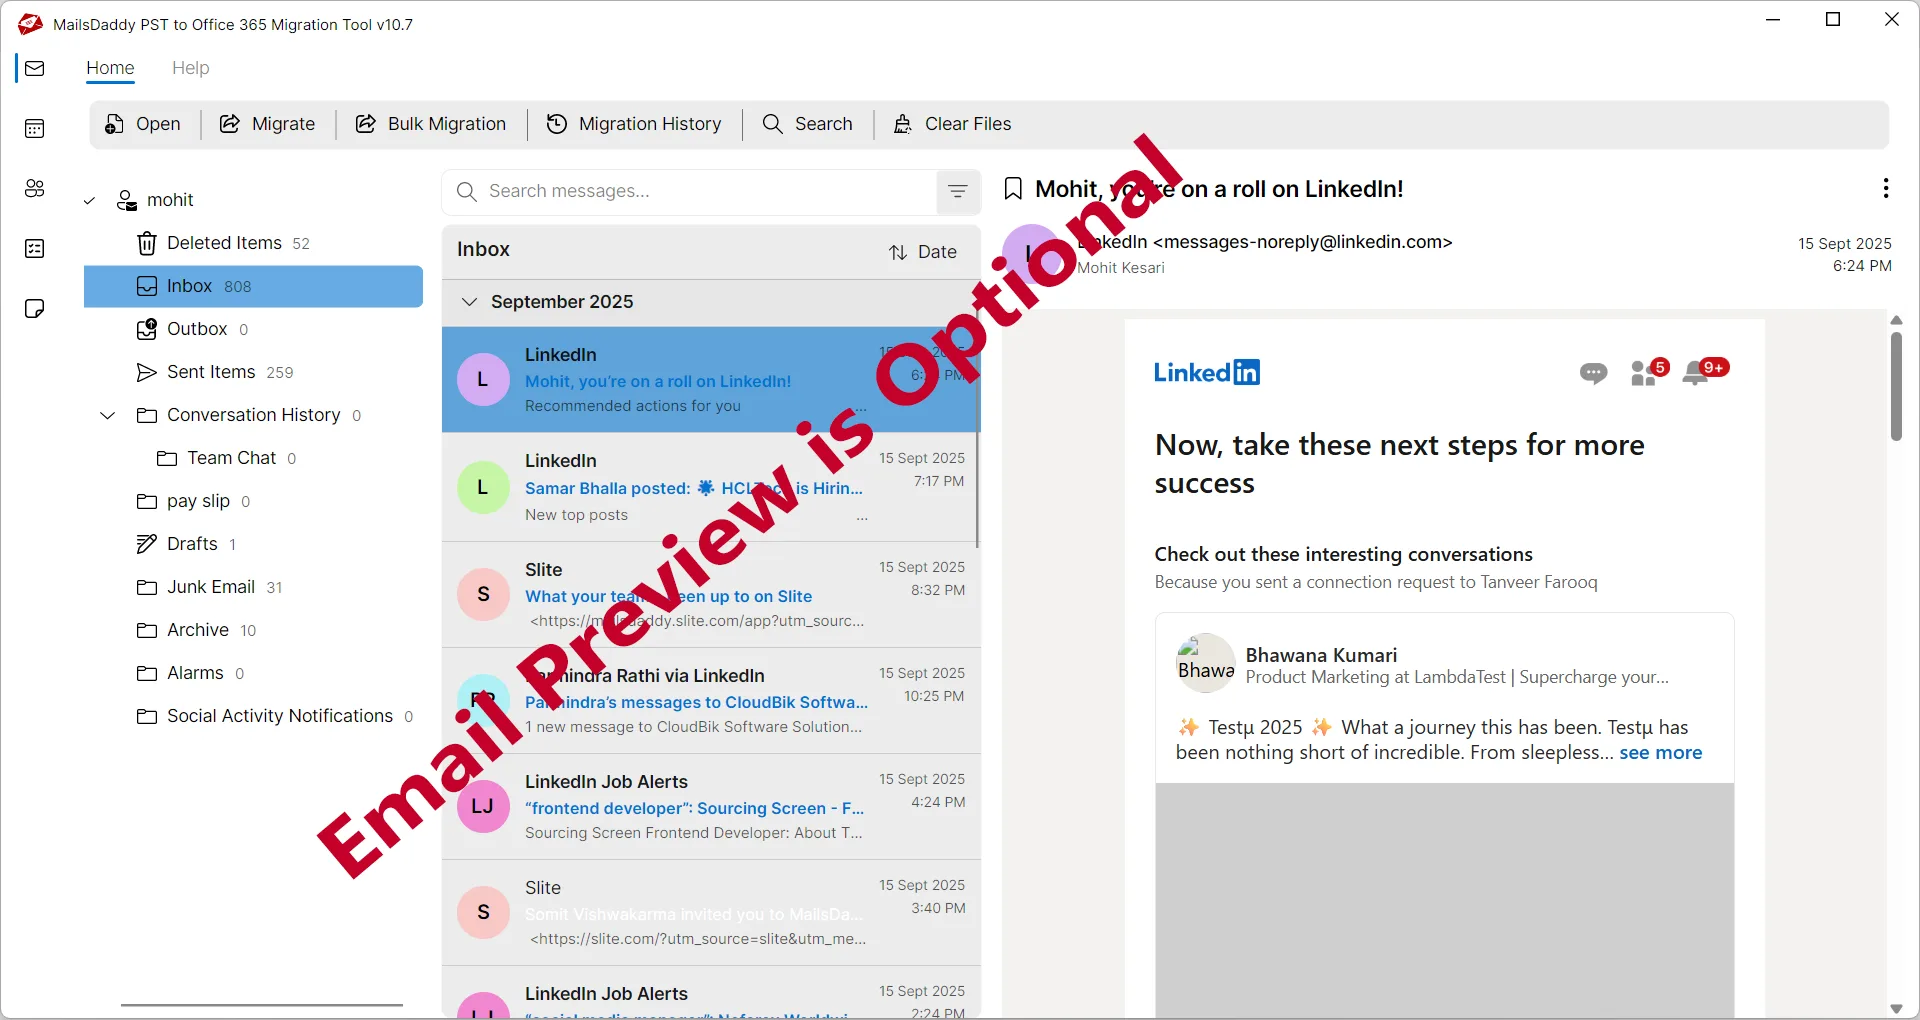
The application will generate preview of entire PST file items including attachments
The application will generate preview of entire PST file items including attachments. Click on Migrate Button. ( Previewing data is optional so you may skip the above step if not required )
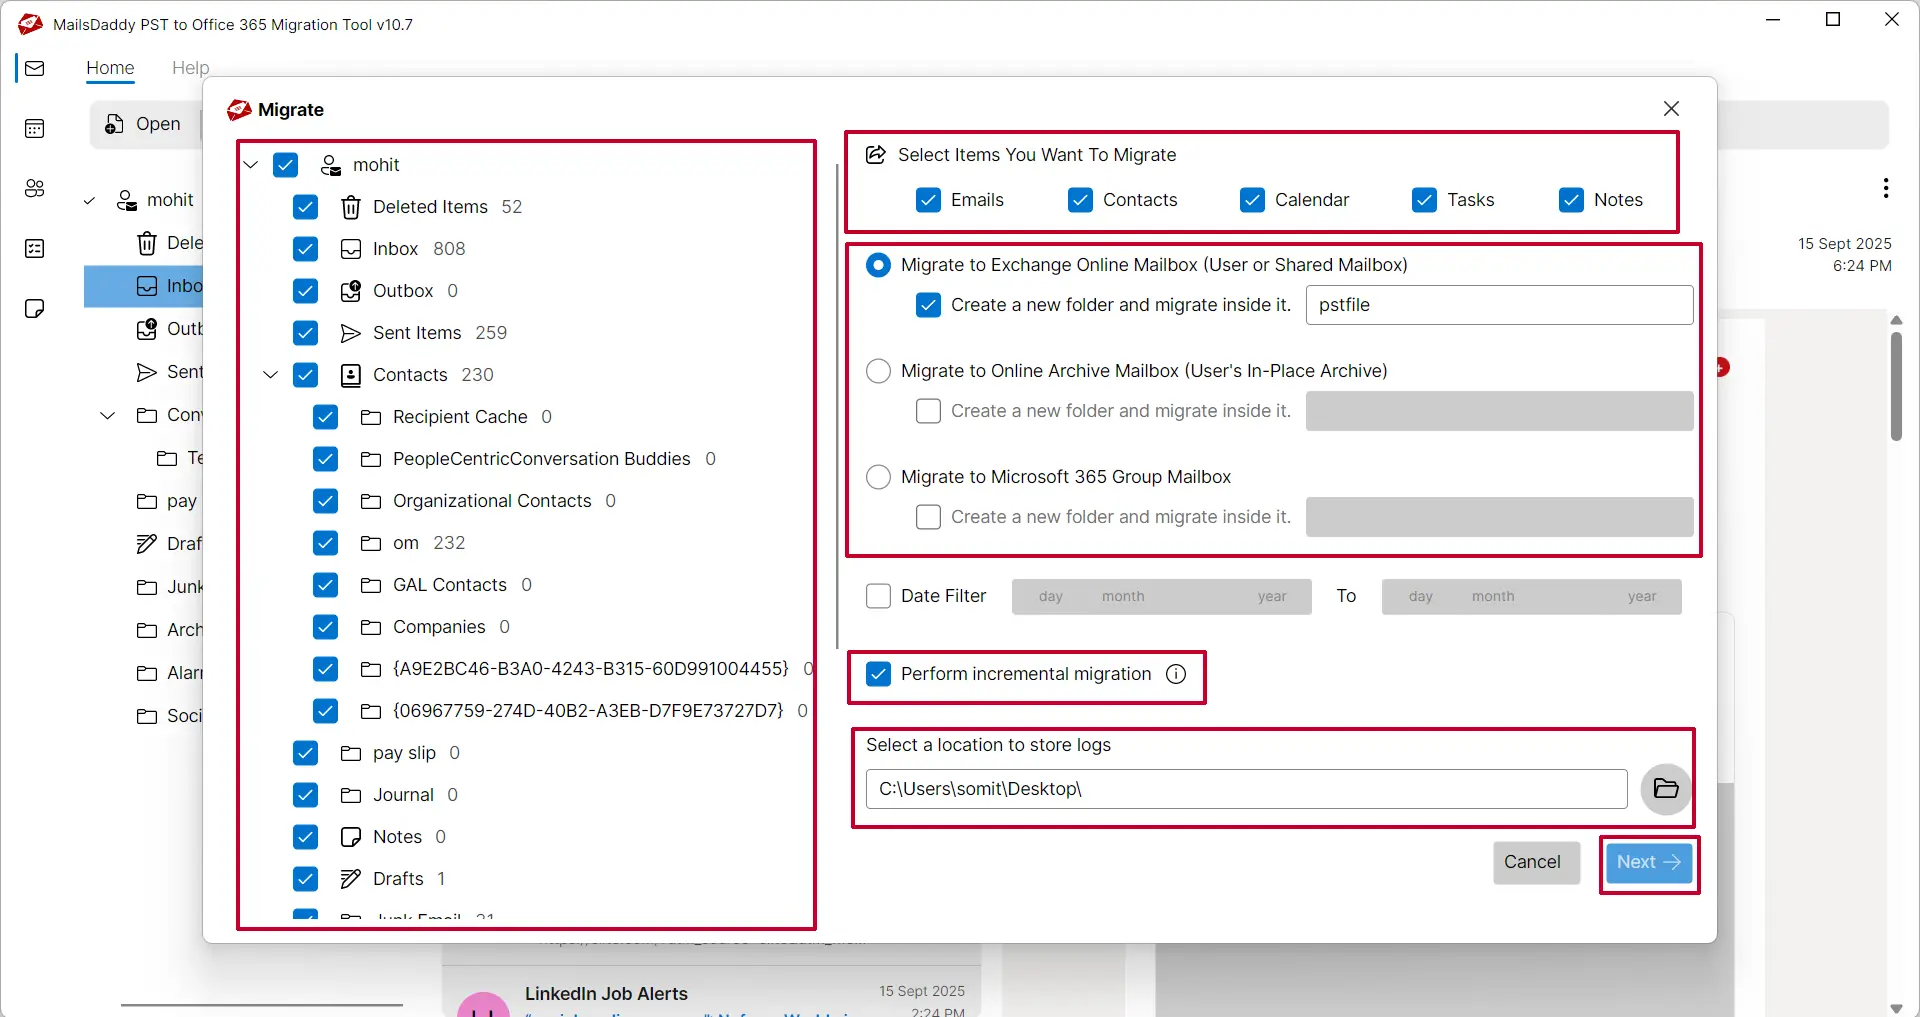
Select all folder and subfolders which you want to migrate into Office 365 account
Select all folder and subfolders which you want to migrate into Office 365 account. Choose Office 365 Primary mailbox. You can also create a folder inside the mailbox and import all data in it. Enable/Disable incremental migration and Save the log file location then hit on "migrate" button.
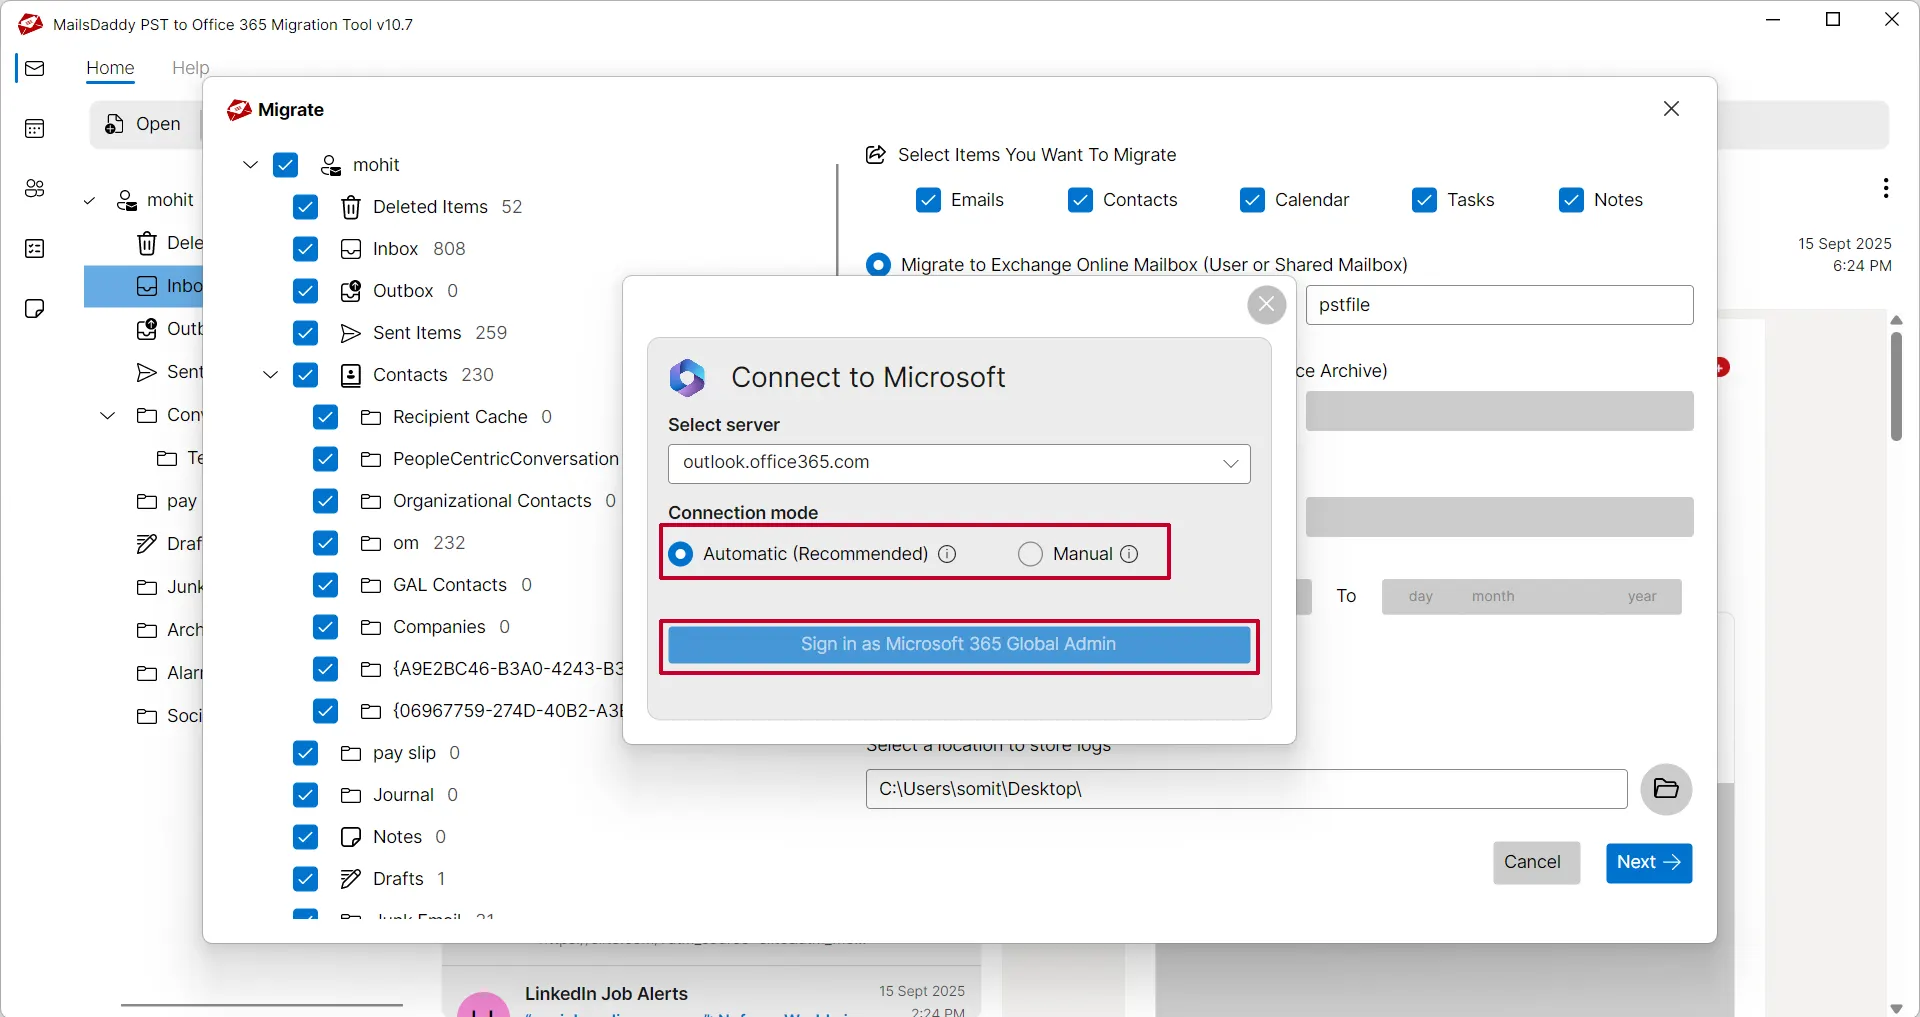
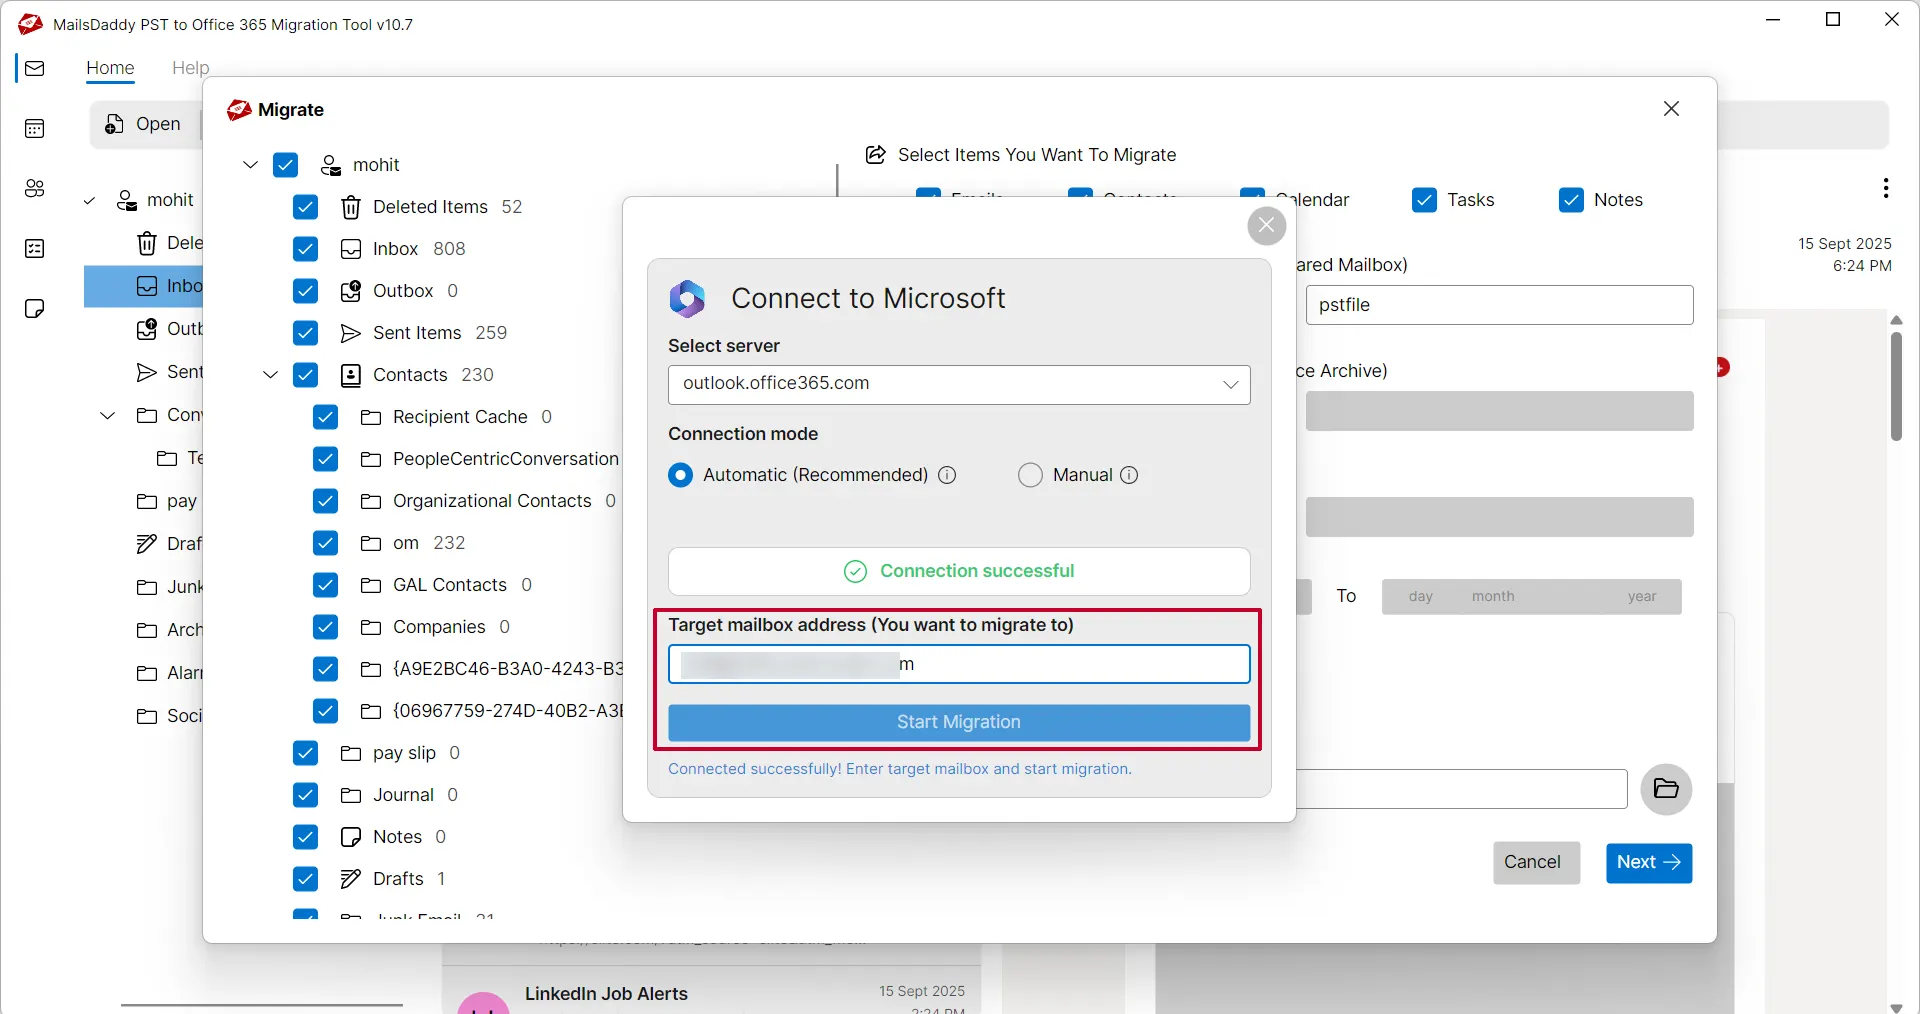
Now choose the verification method: Automate or Manual
Now choose the verification method: Automate or Manual . With manual verification, you have to create Office 365 Tenant id, Client id & Client Secret Value by following our guide. Check how to create? Automate method automatically create these verification steps for you after login. Both are safe method to connect with Microsoft 365.
Step 5: Complete Operation
Once you have successfully verified then type target email address then click on Start Migration button.
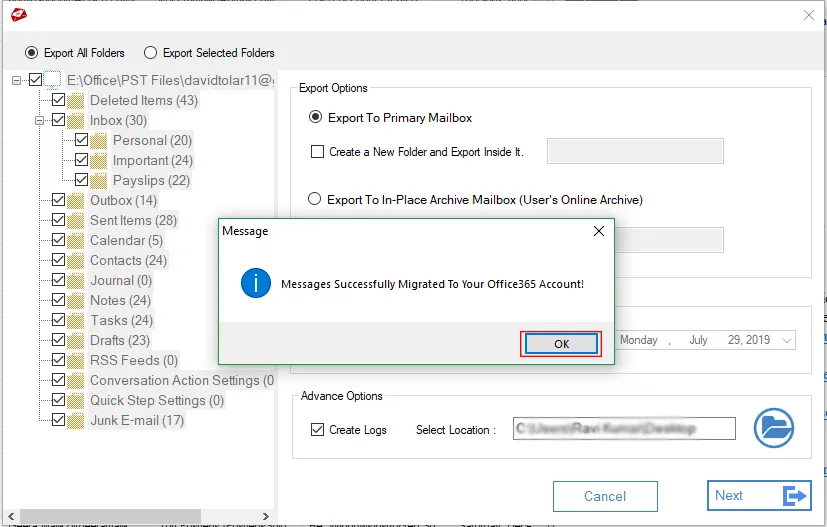
The application will show a confirmation message after completion of the process.
The application will show a confirmation message after completion of the process.
Ready to Start with PST to Office 365 Migration?
Download the free trial version to preview all mailbox items or buy the full license for unlimited conversion.