Step To Step Process Of MailsDaddy OLM To PST Converter Tool
Working Guide of the MailsDaddy OLM to PST Converter Software.
Step-by-Step Walkthrough (17 Steps)
Click on any screenshot to view full resolution.
Note:
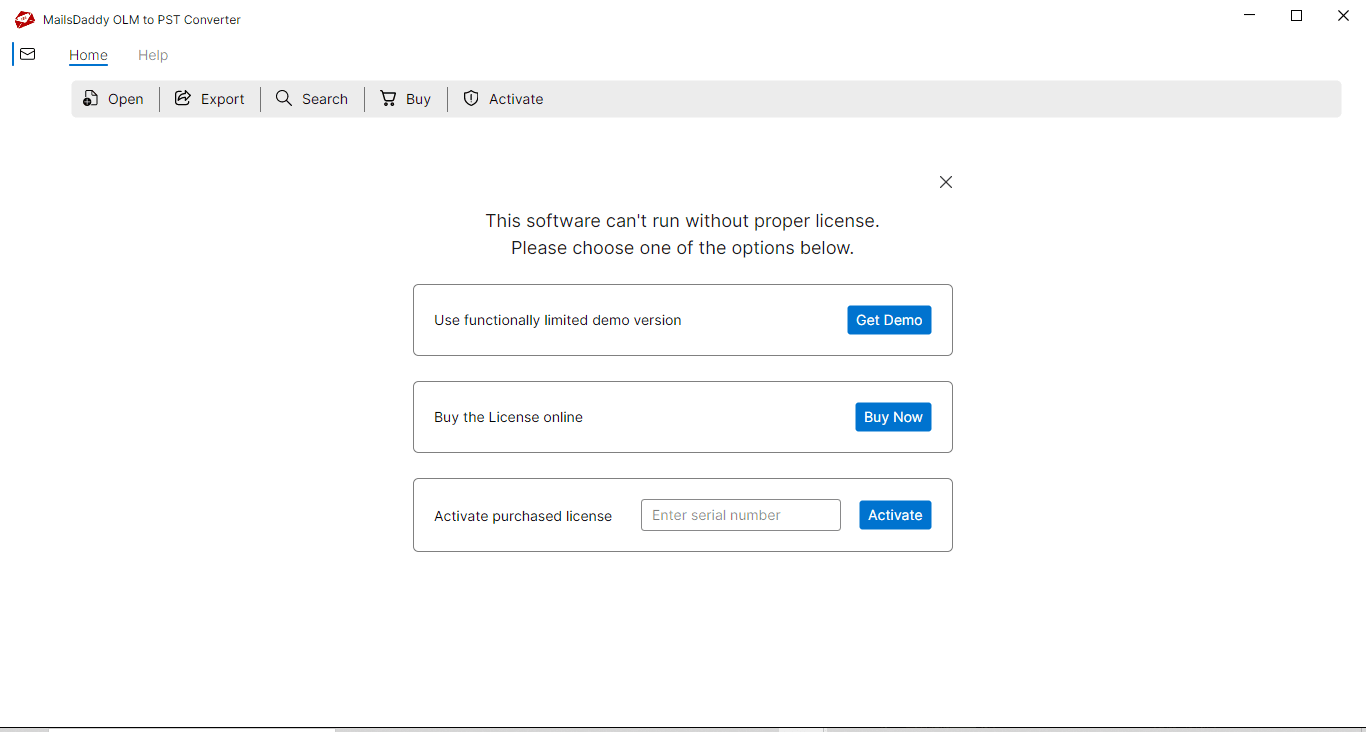
As the .exe file runs, a window will appear to active a license for you. From here, you can get the free demo version of the tool and explore its functionalities.
Open File button
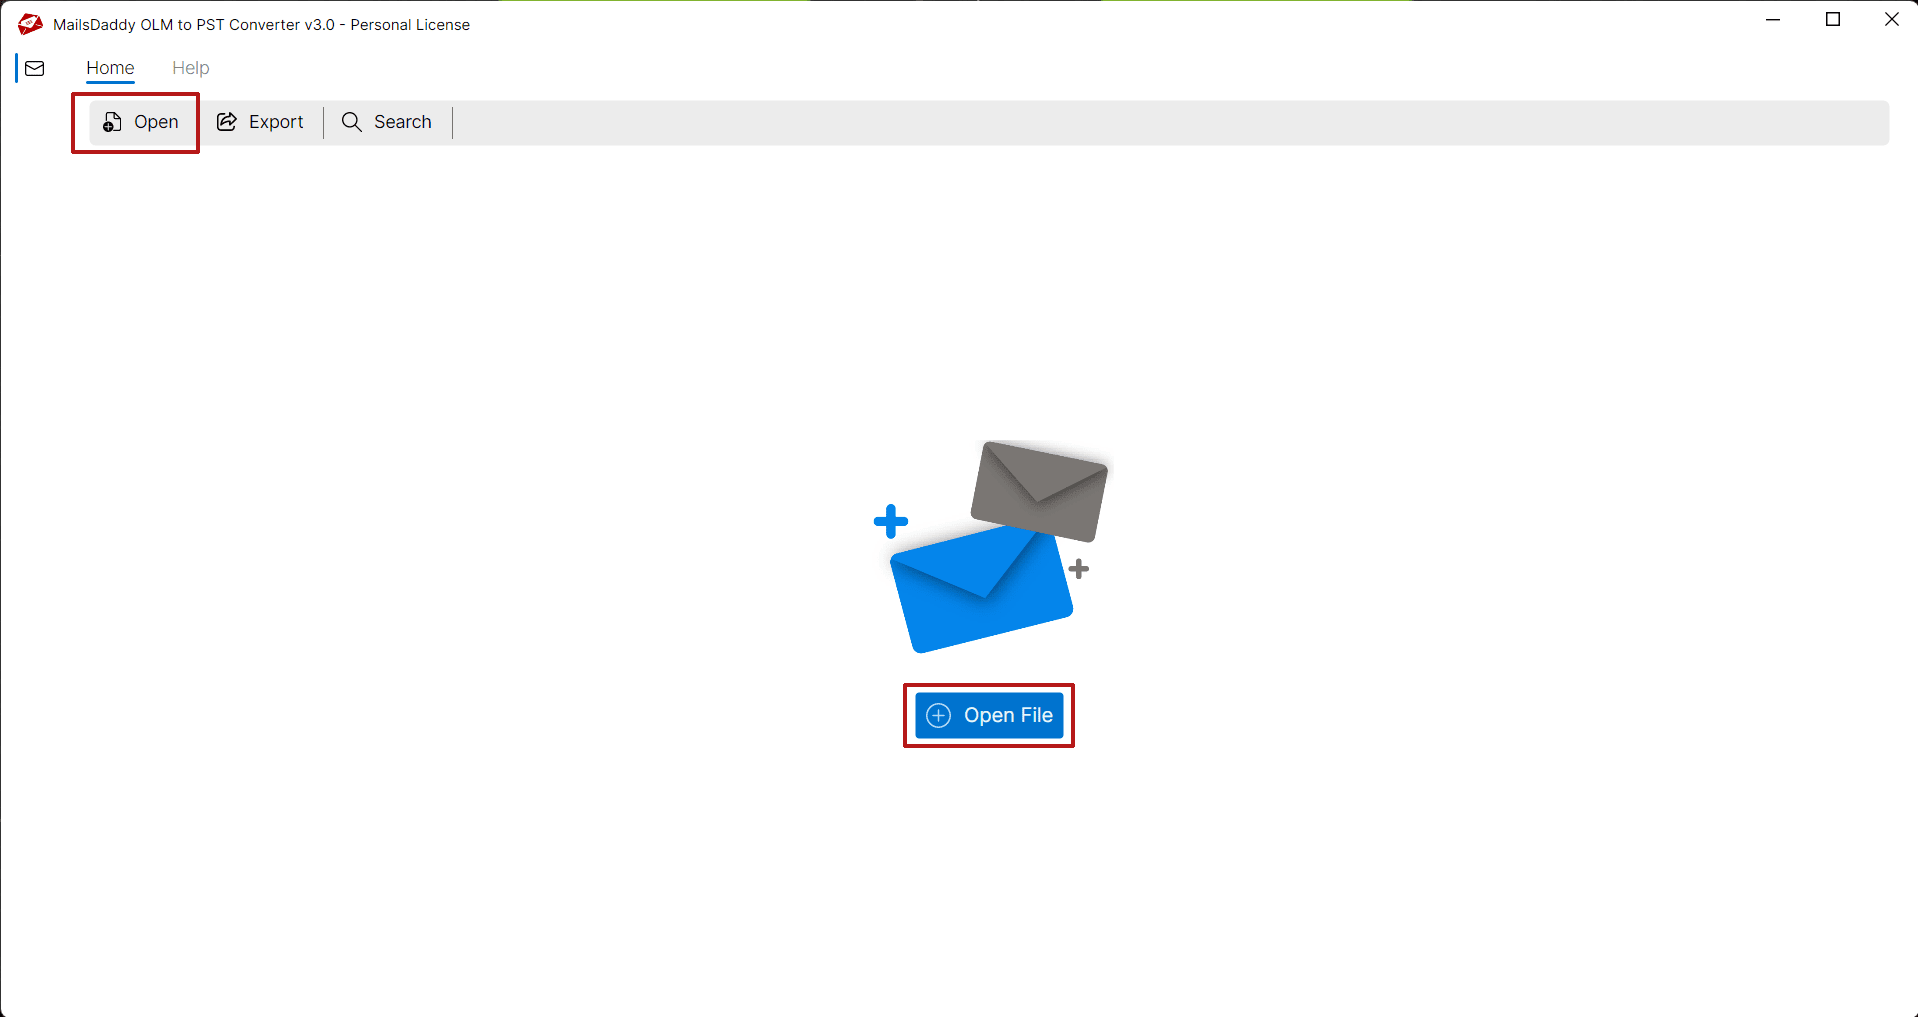
After appearing the first window of the OLM to PST Converter tool, click on the Open File button .
OLM to Office 365 Migration Action
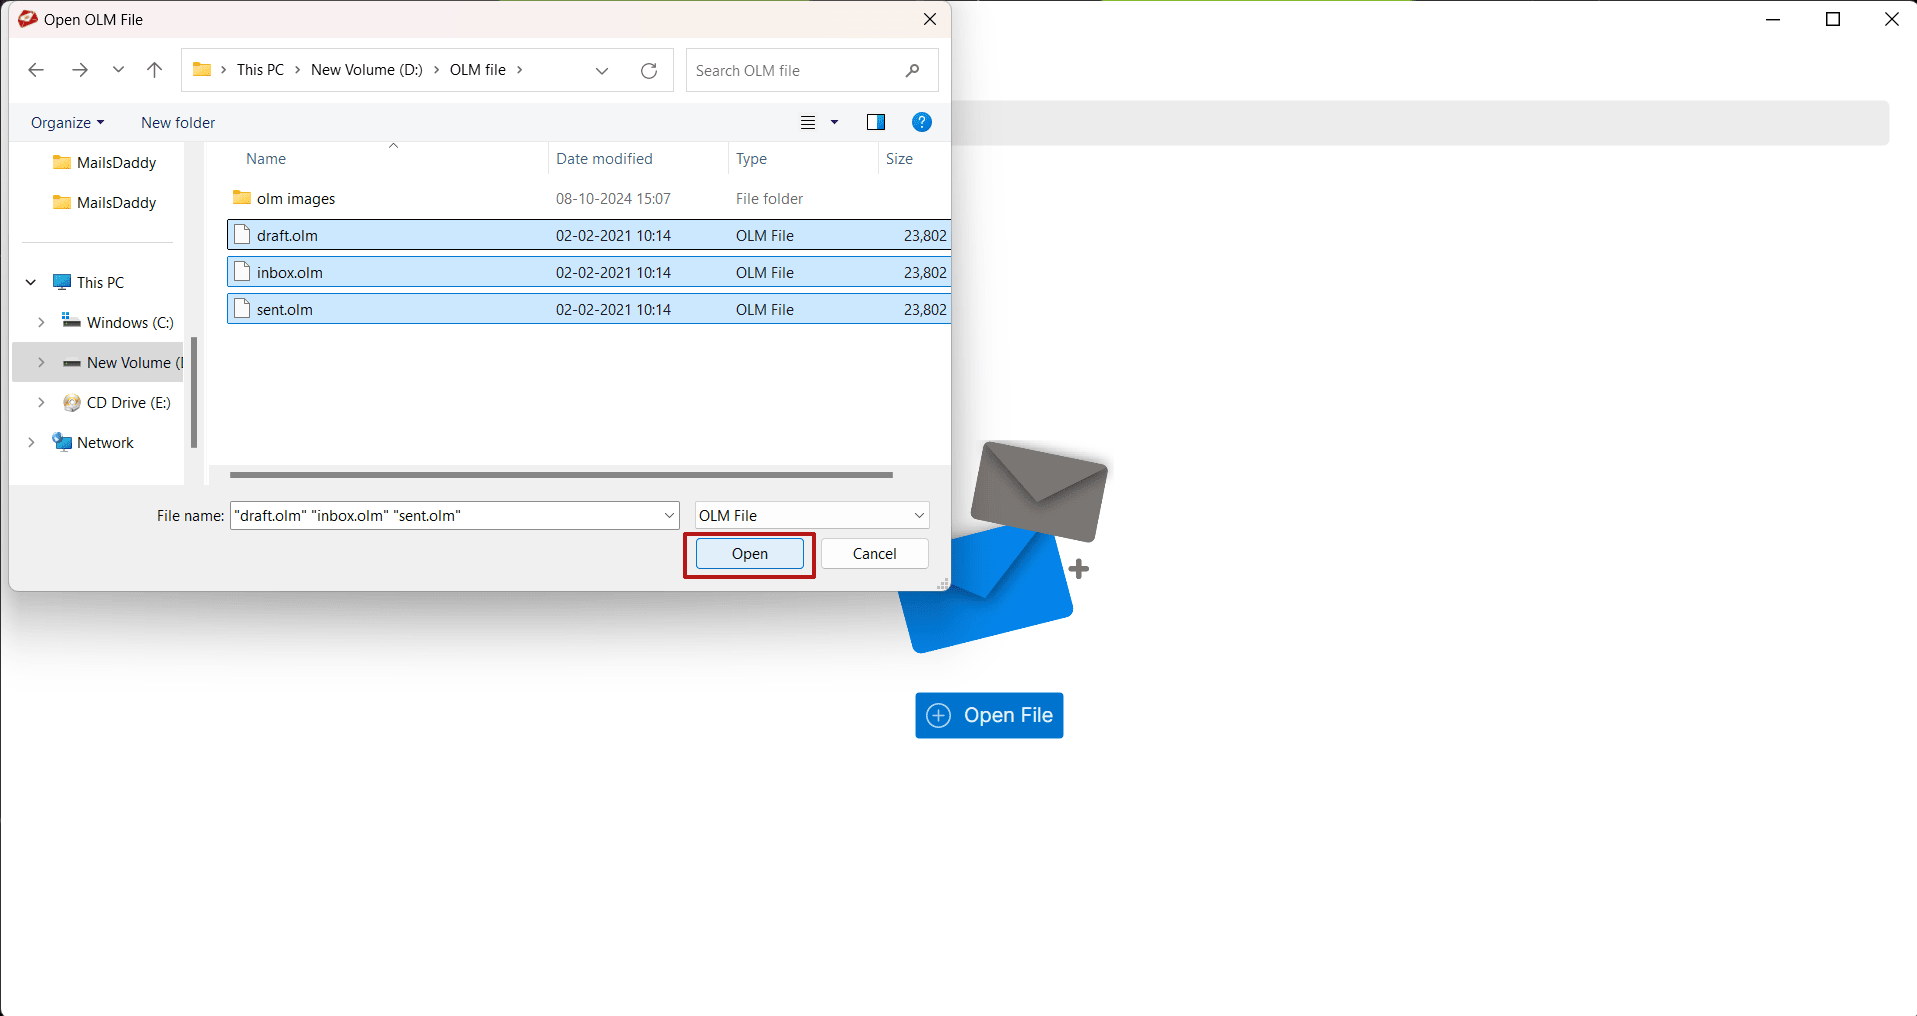
Browse the location of OLM data file and open into the software.
OLM to Office 365 Migration Action
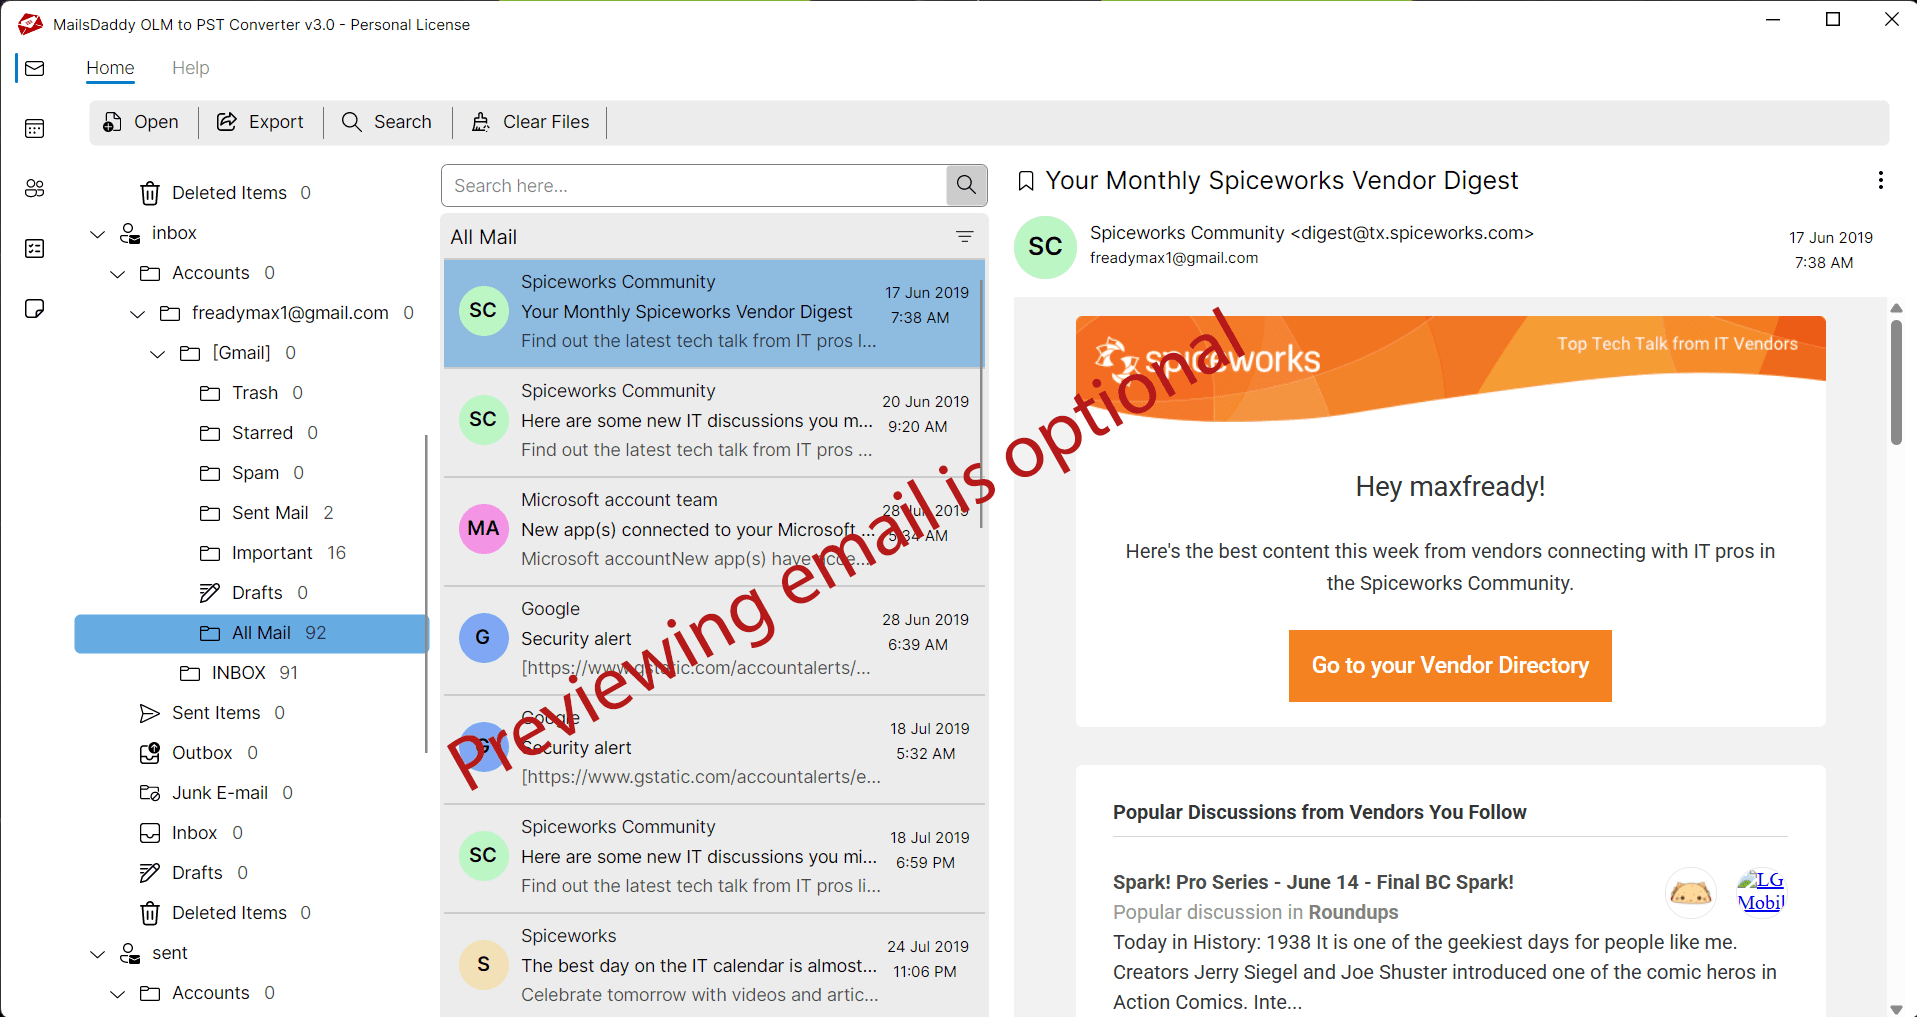
After loading the mailbox, user can view the selected items in the right side of pane.
OLM to Office 365 Migration Action
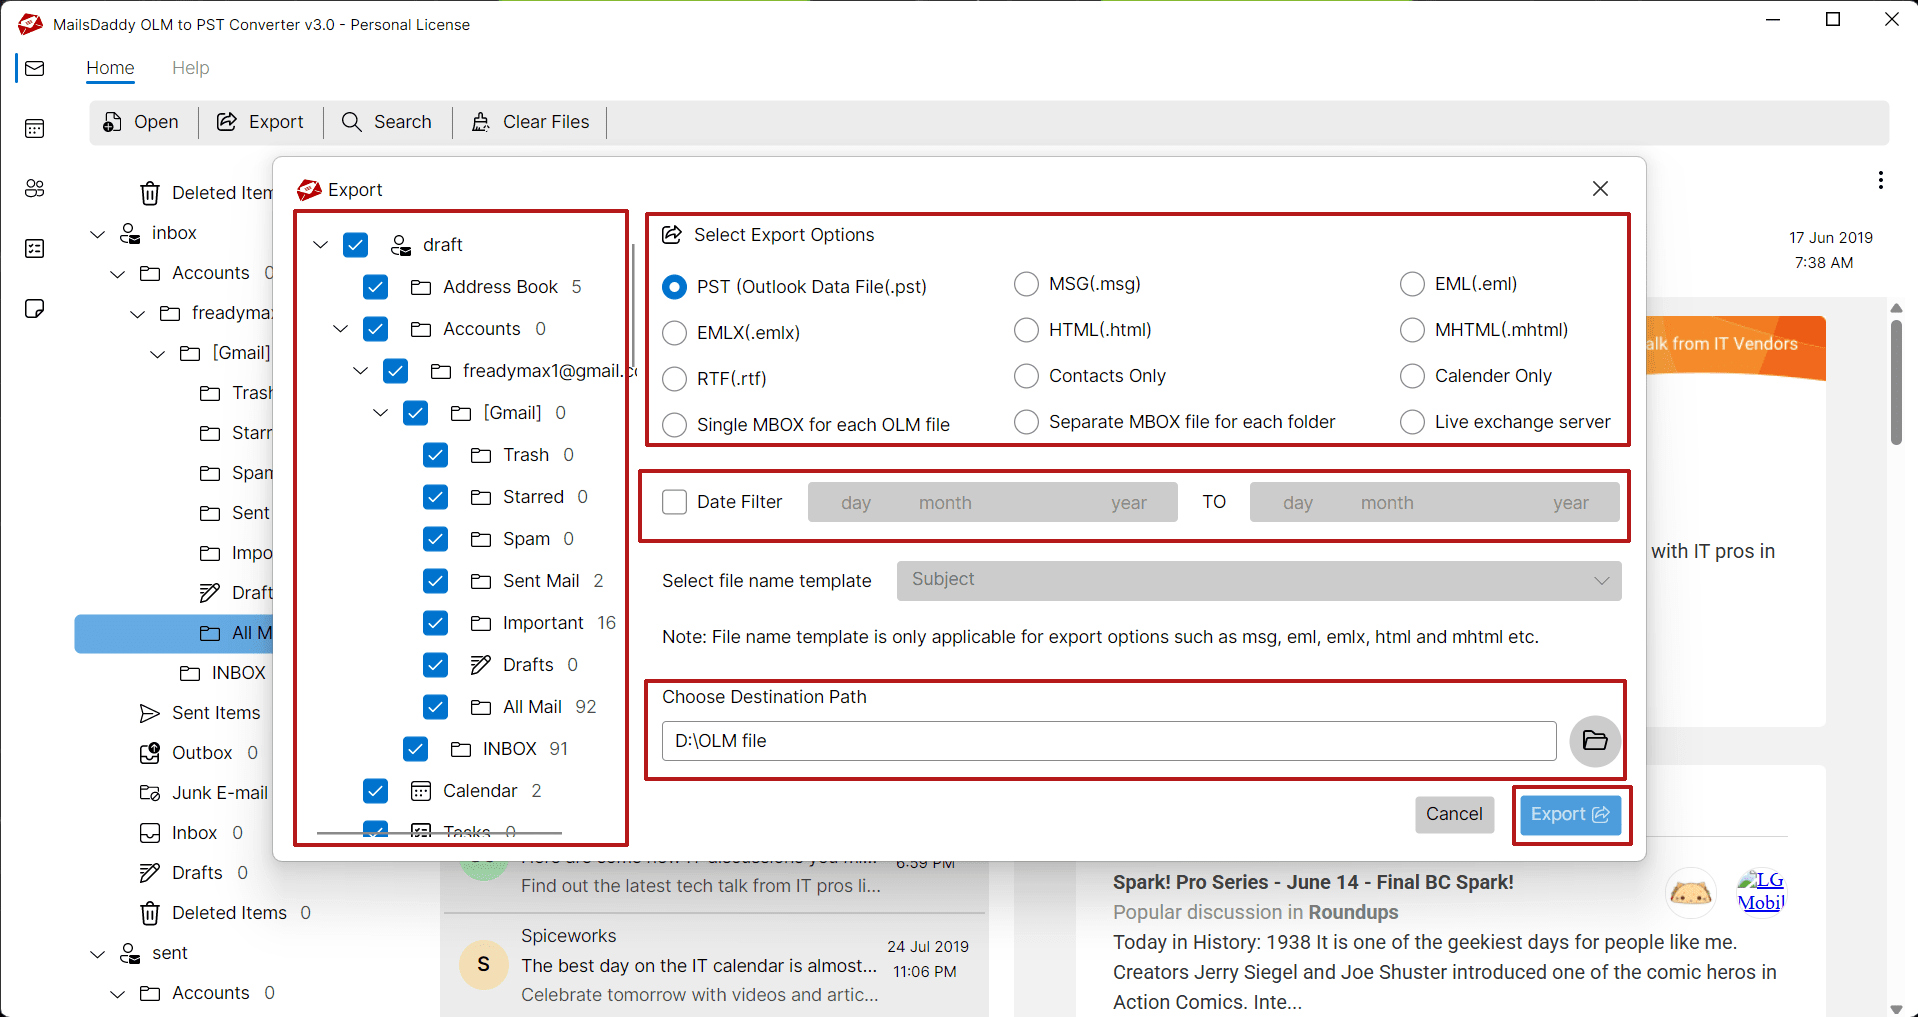
Click on Export button to go to batch migration window.
Export button
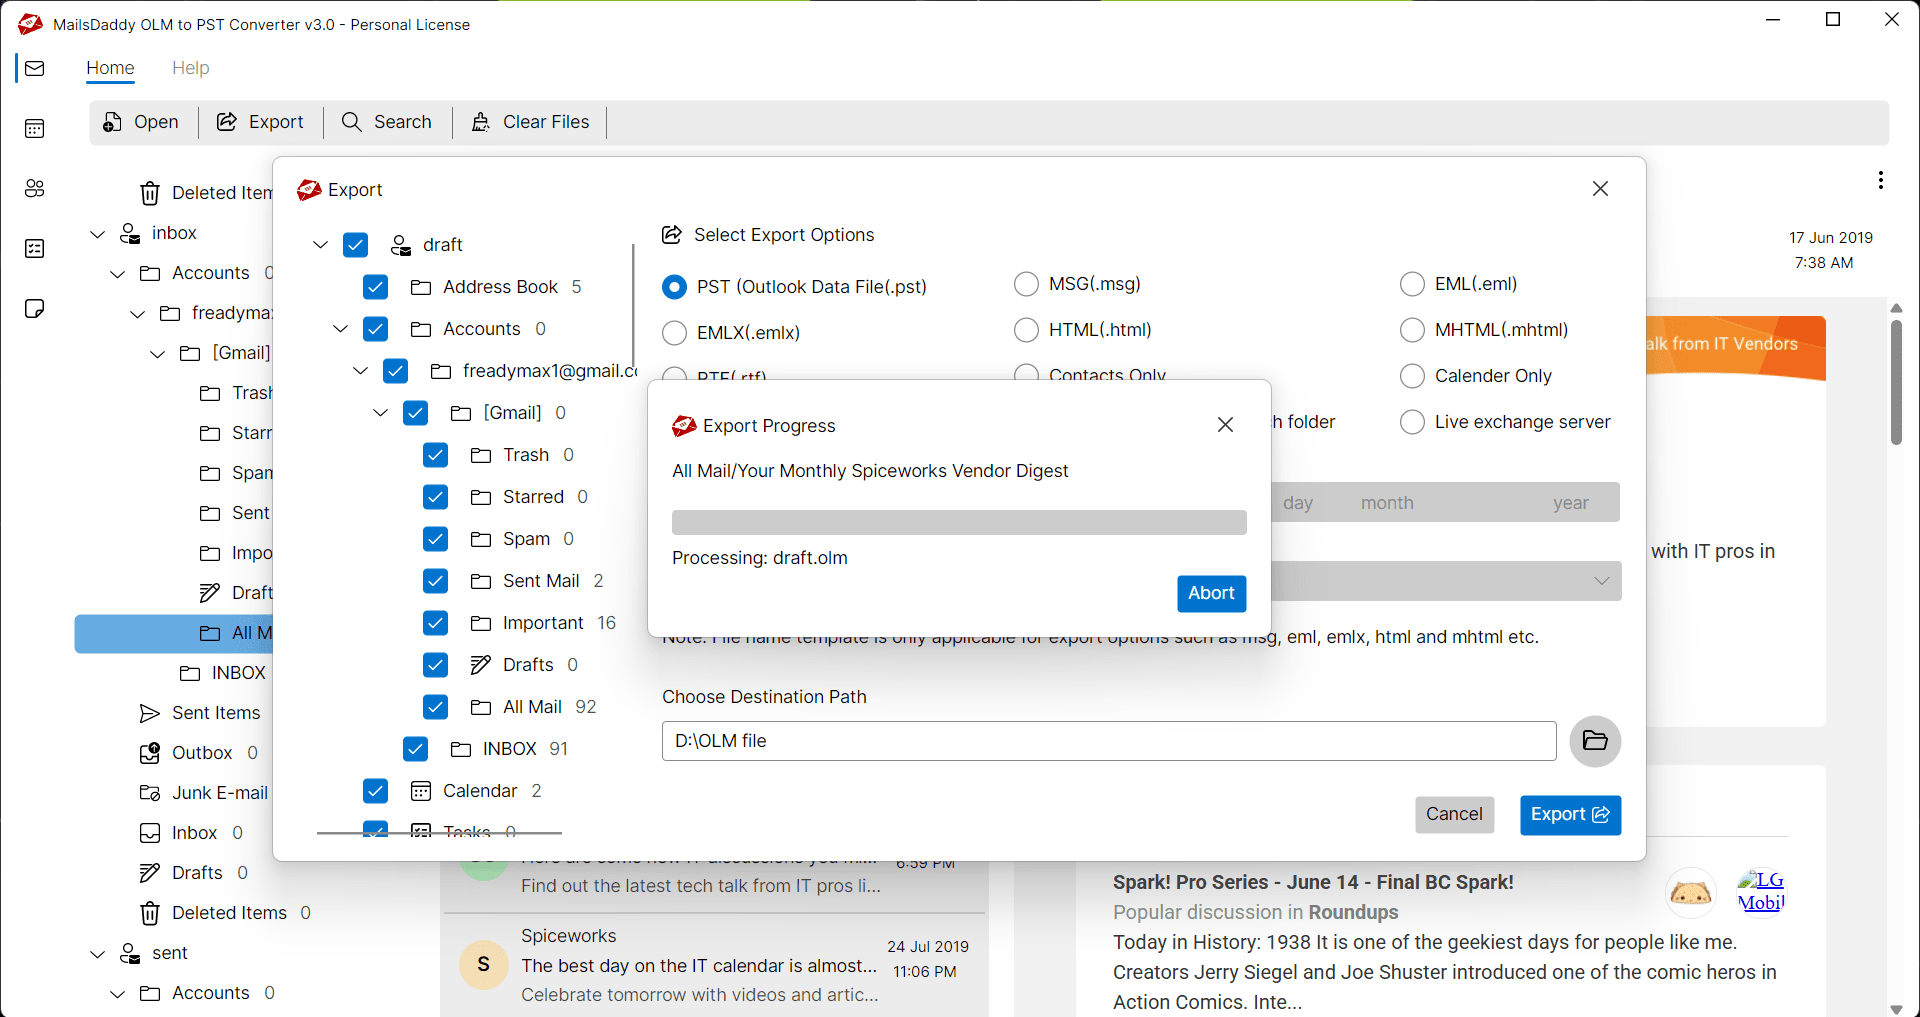
Now click on the Export button of the OLM to PST Converter tool to start the process and wait until the process ends.
Ok
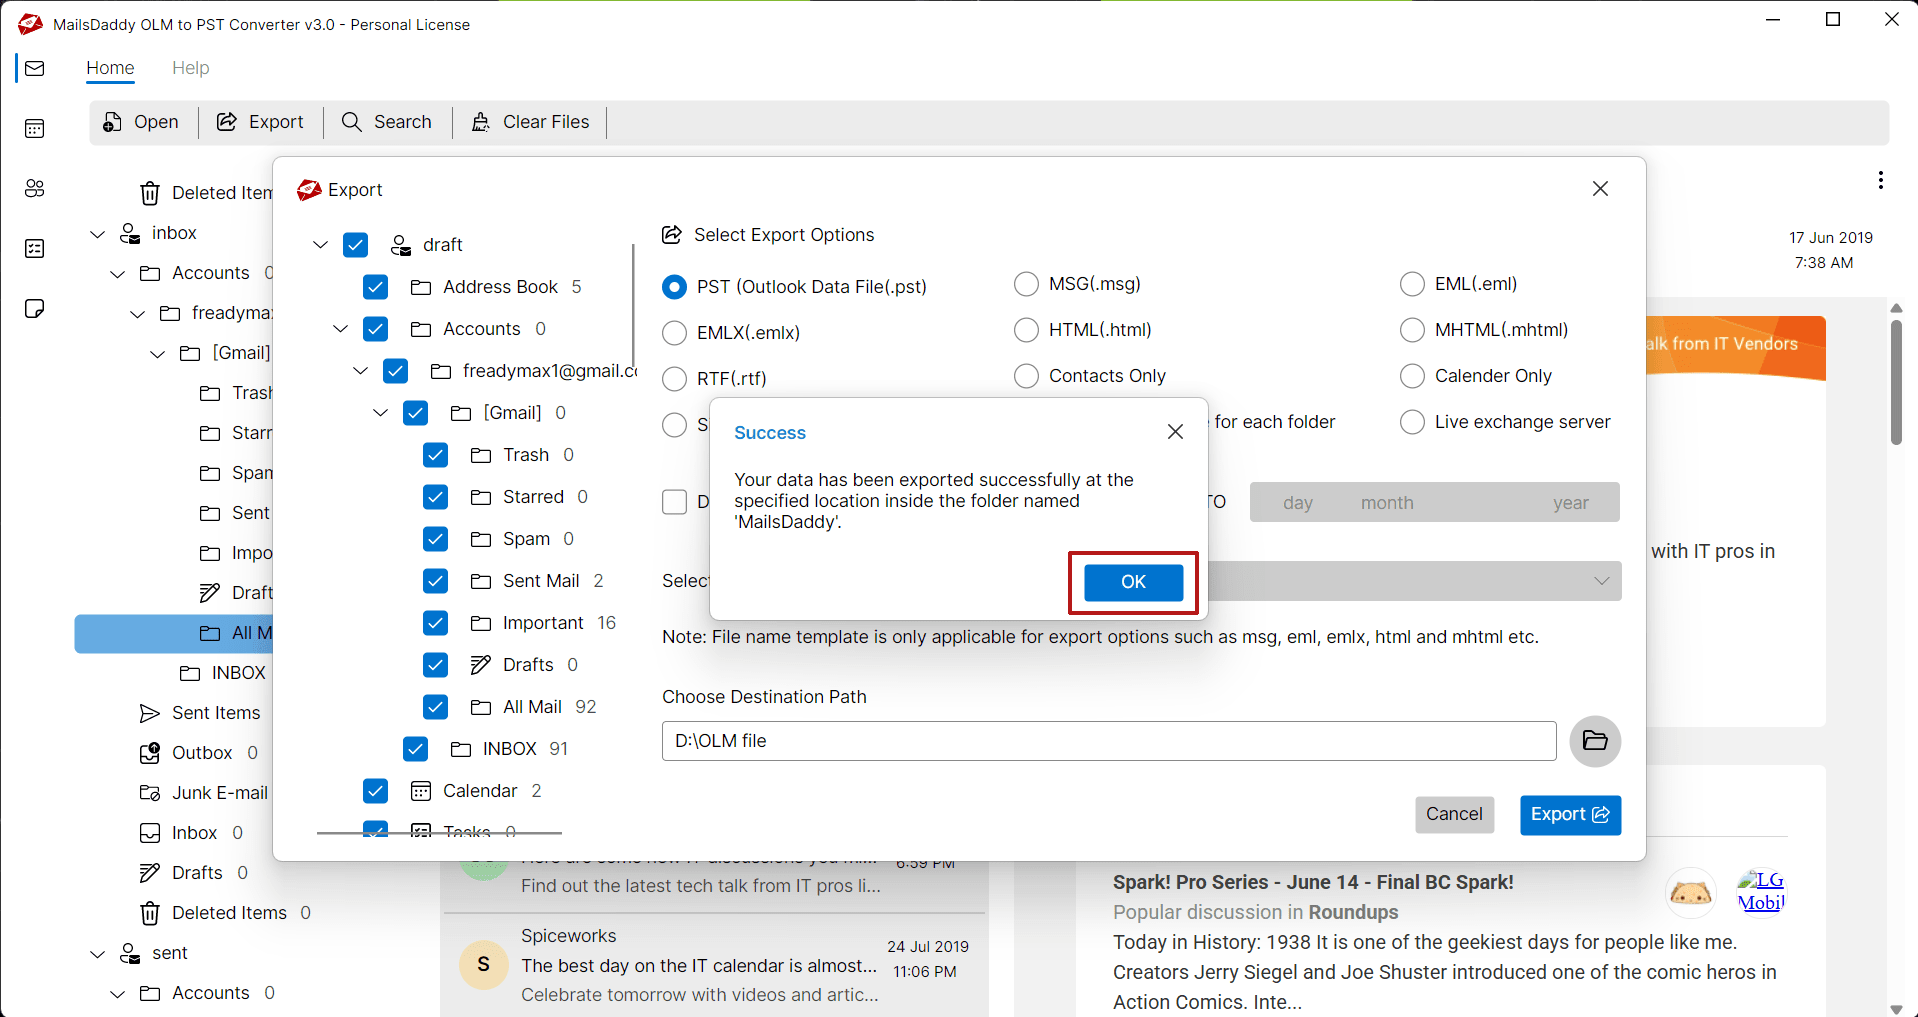
After completing the process, click on the Ok Button from the confirmation window and finish the process.
OLM to Office 365 Migration Action
Download the tool from the Official MailsDaddy OLM to PST Converter website . Install and run the tool in a Windows Operating System.
Open file
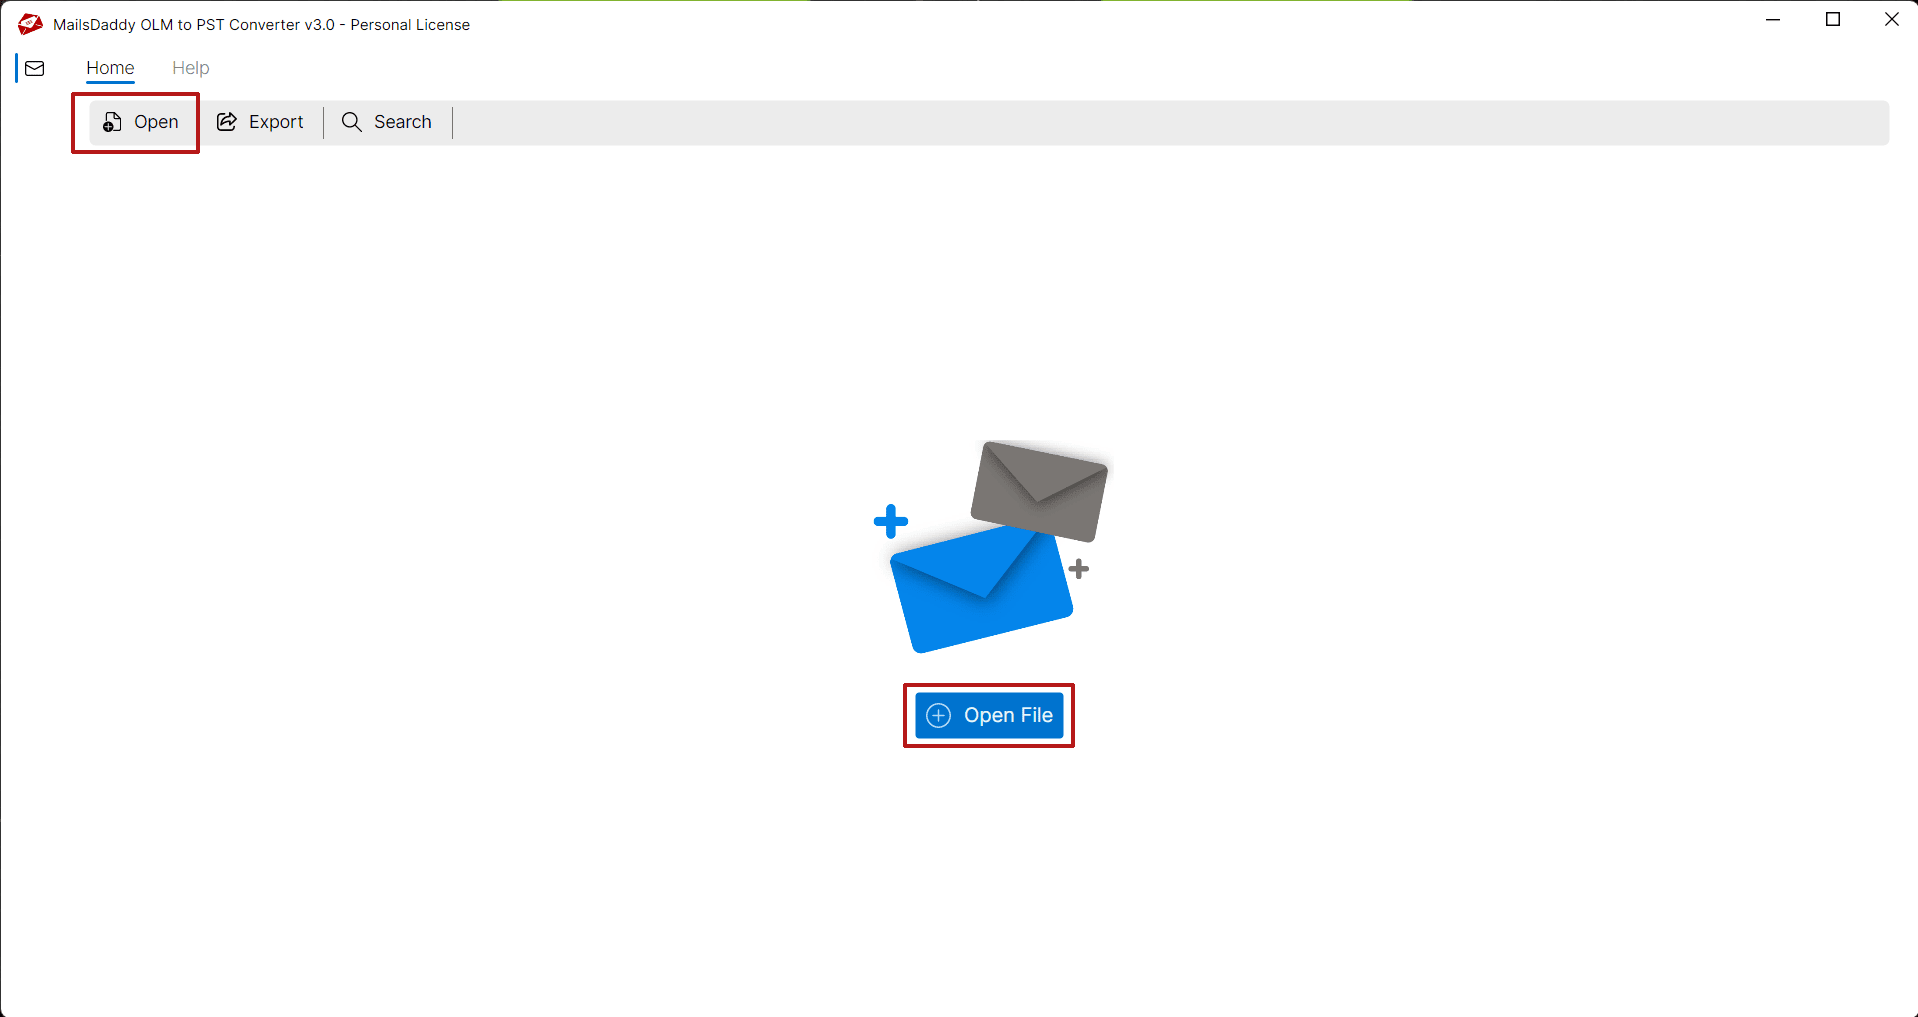
From the first (home) window, click on the Open file button to choose the OLM files.
OLM to Office 365 Migration Action
Browse and select the location of your OLM file to load it into the software. The application also supports processing multiple OLM files at once.
Export button
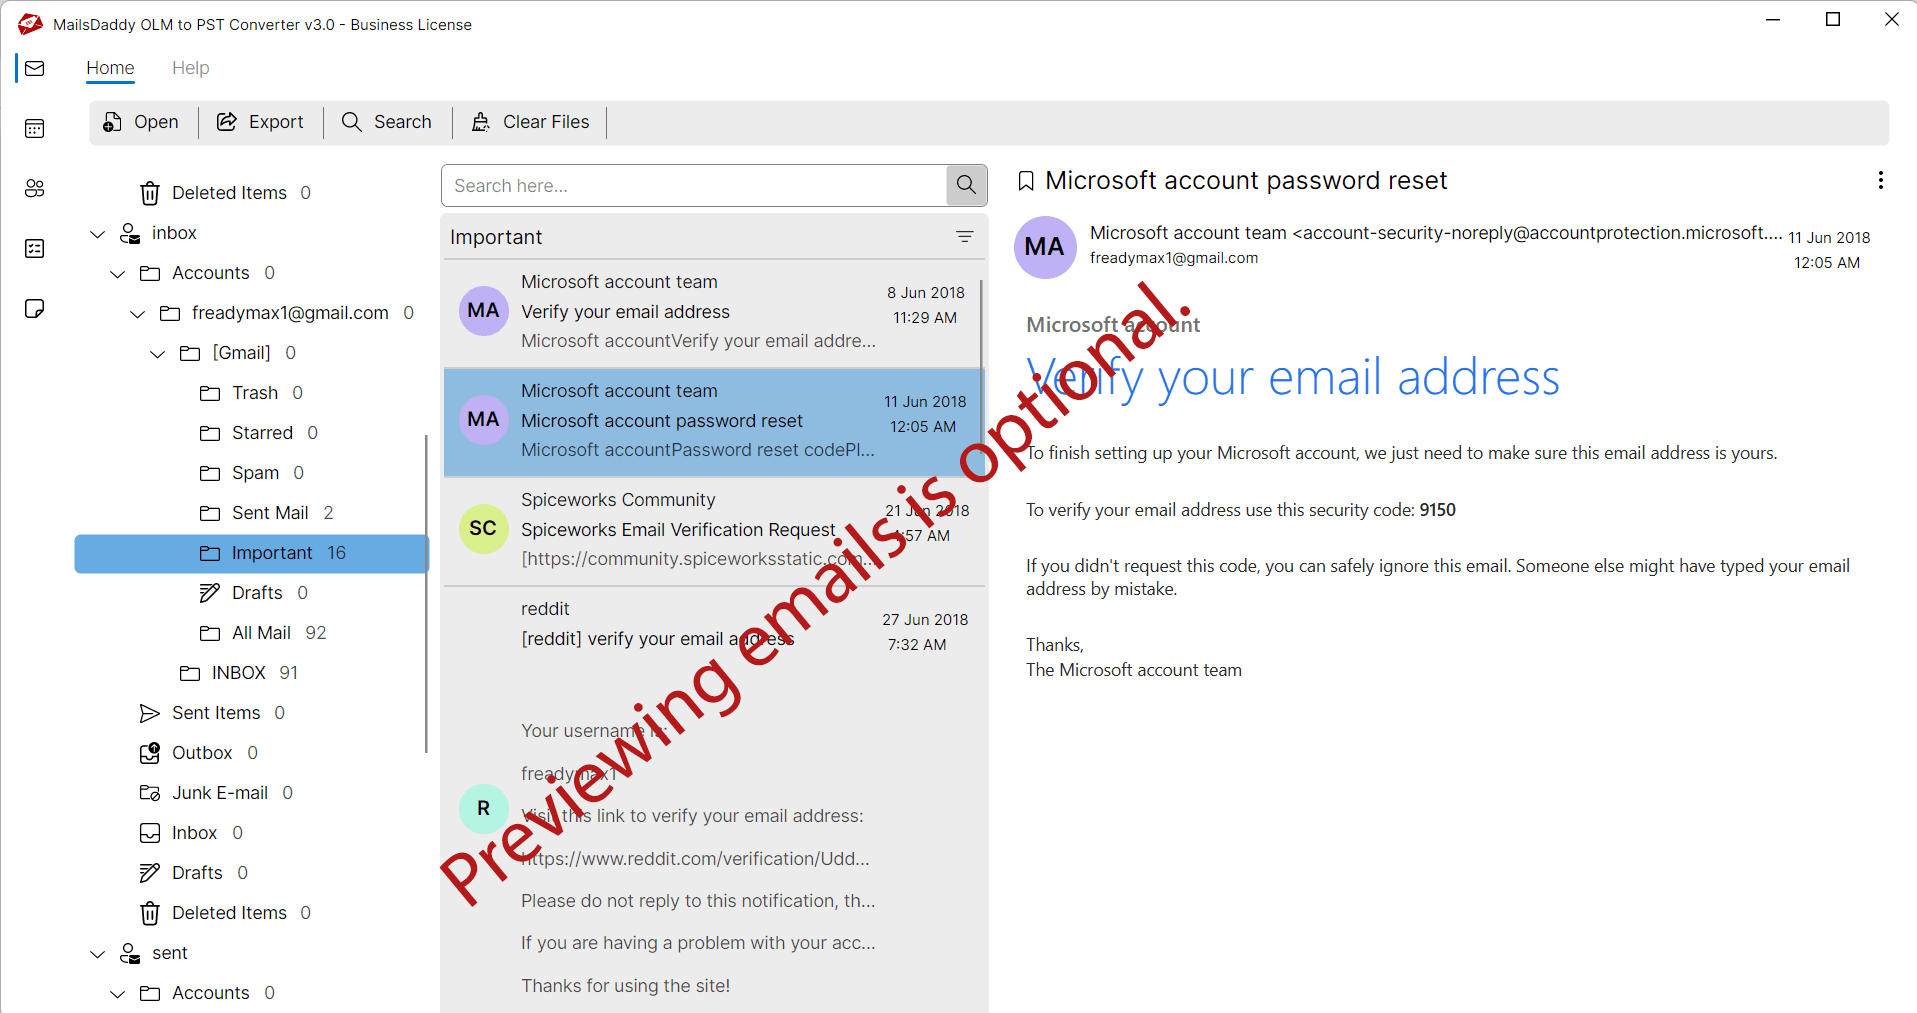
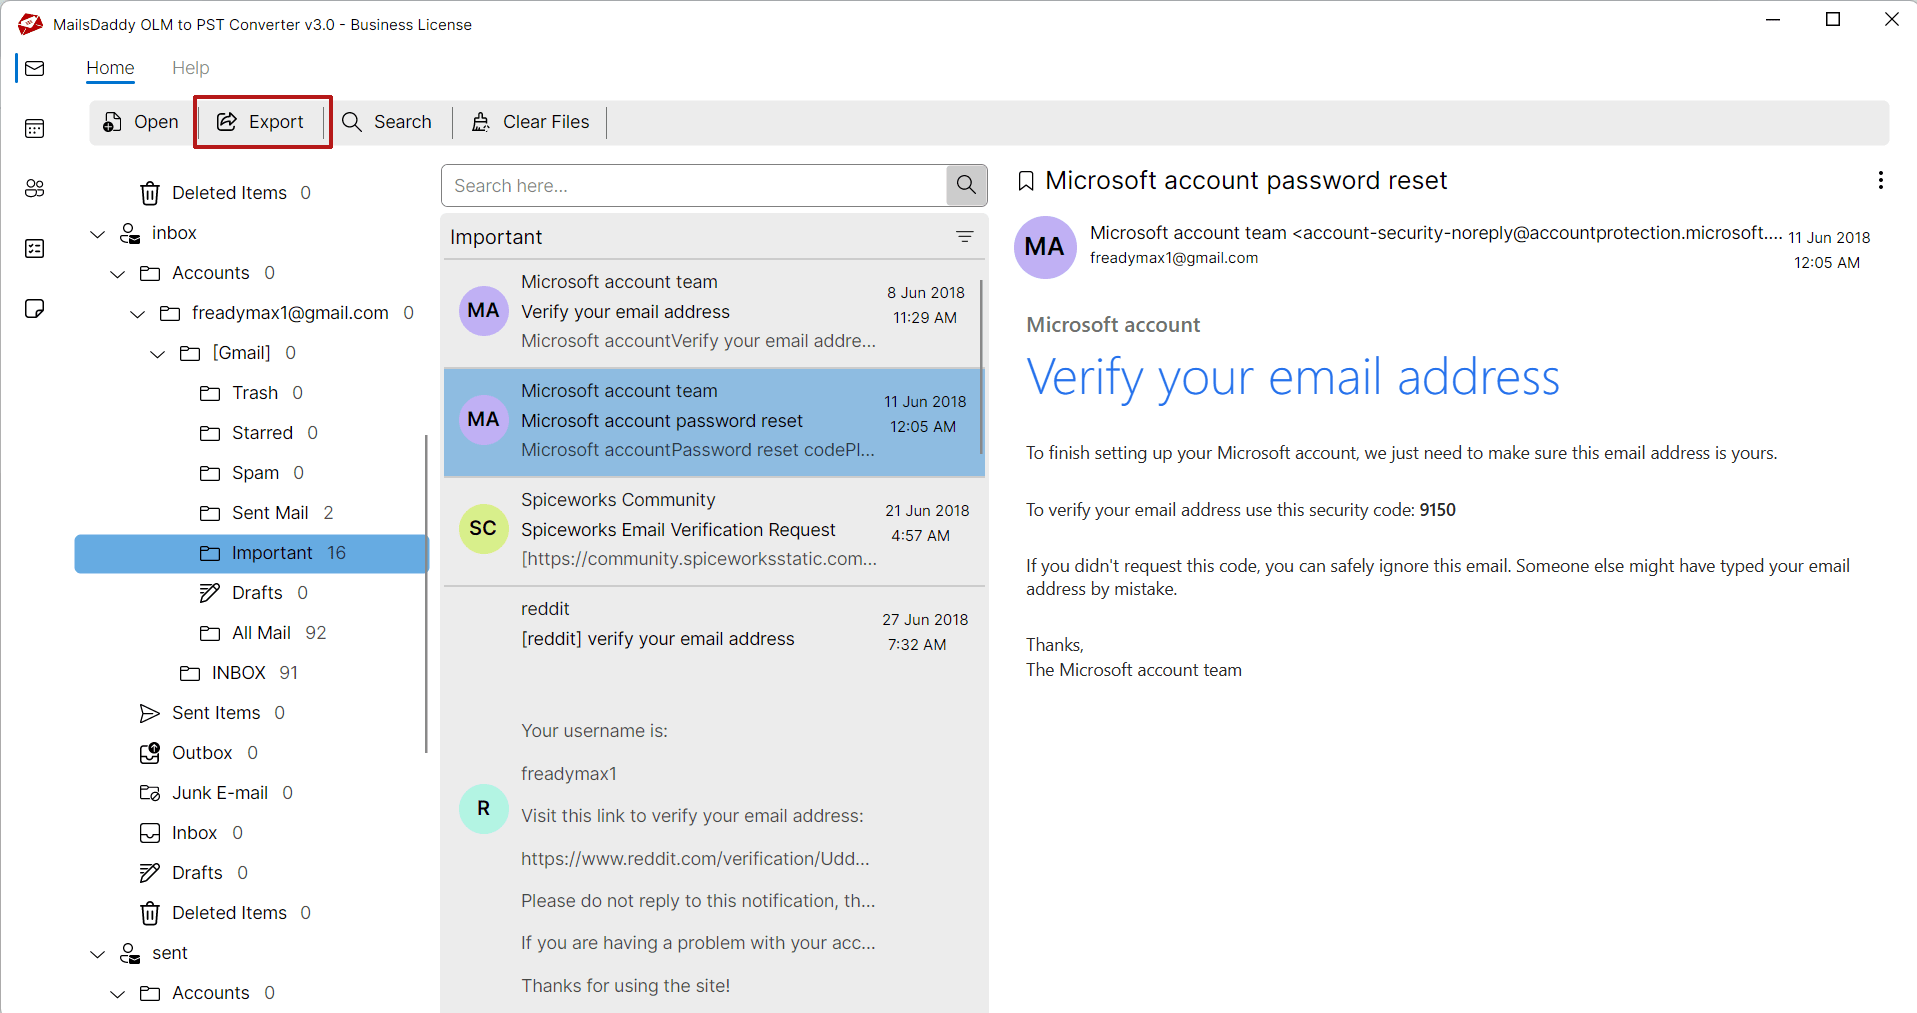
Now the user will be able to preview the selected OLM data items, including folder hierarchy and attachments from the file or folder. After checking it, click on the Export button .
Export button
Now the user will be able to preview the selected OLM data items, including folder hierarchy and attachments from the file or folder. After checking it, click on the Export button .
Next button
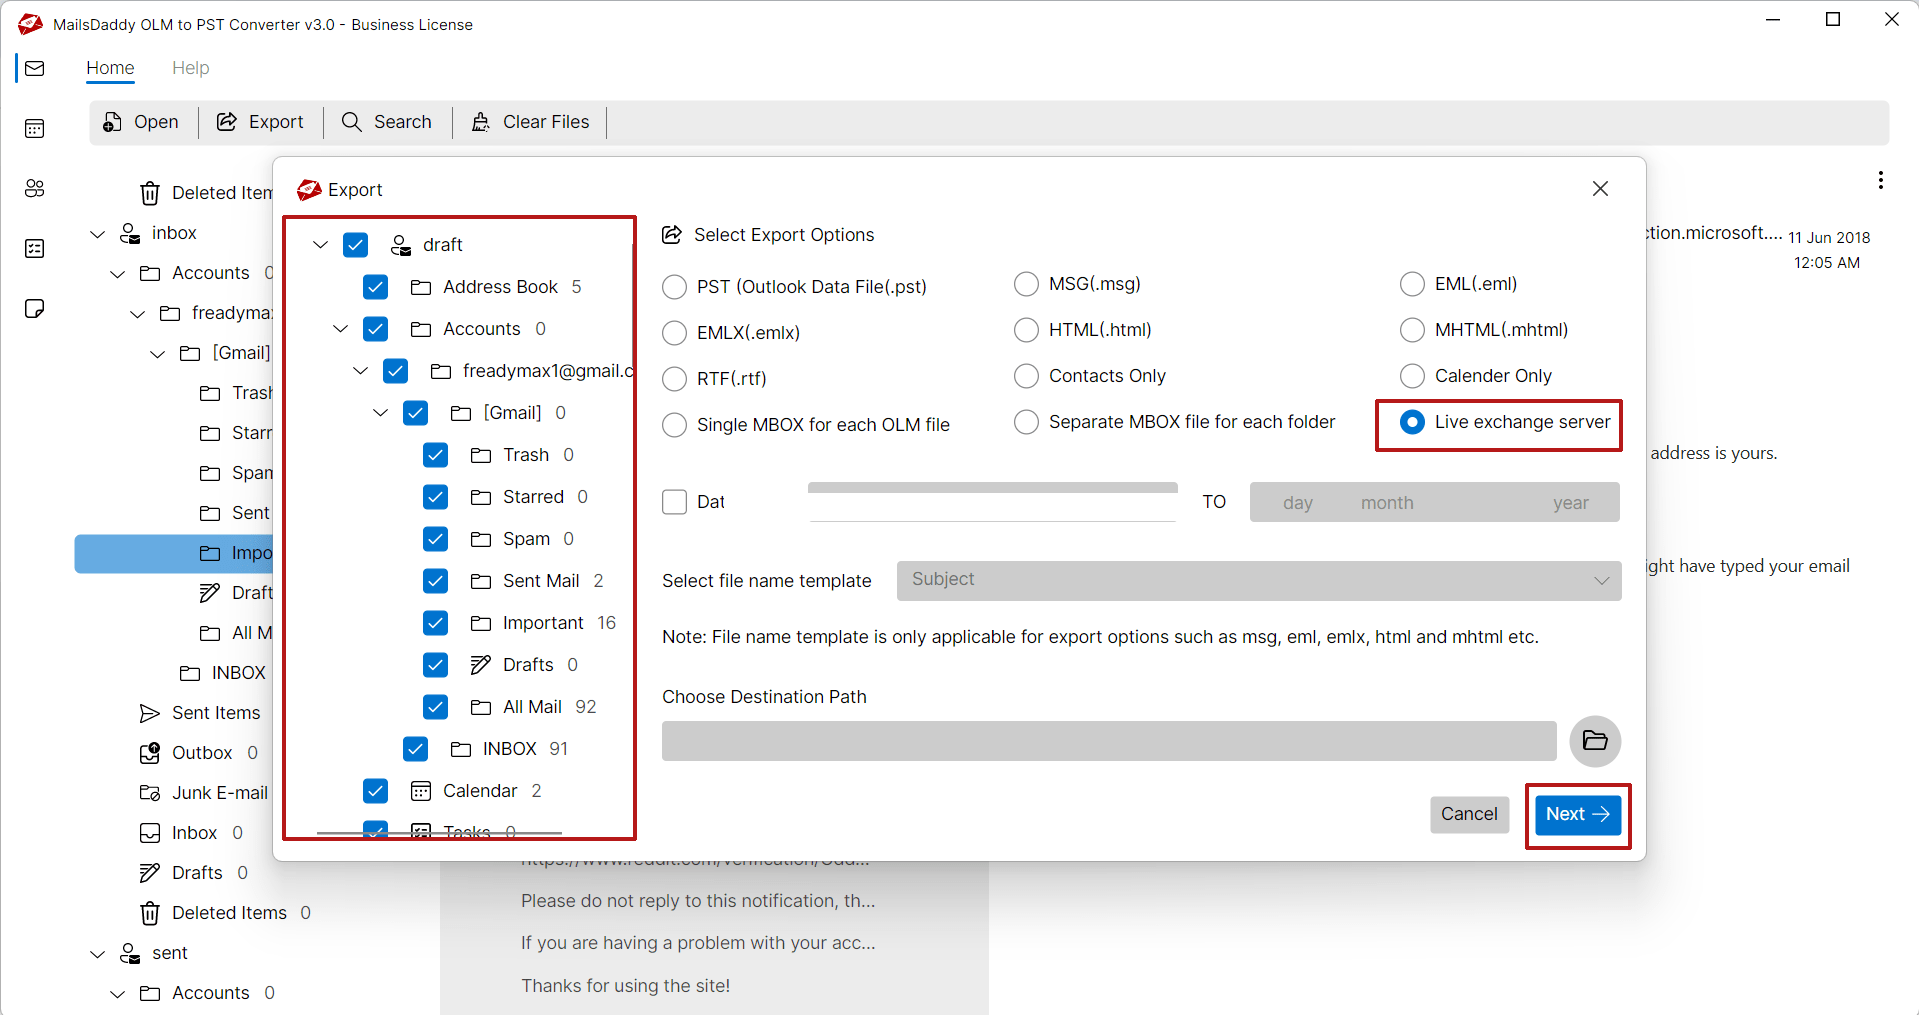
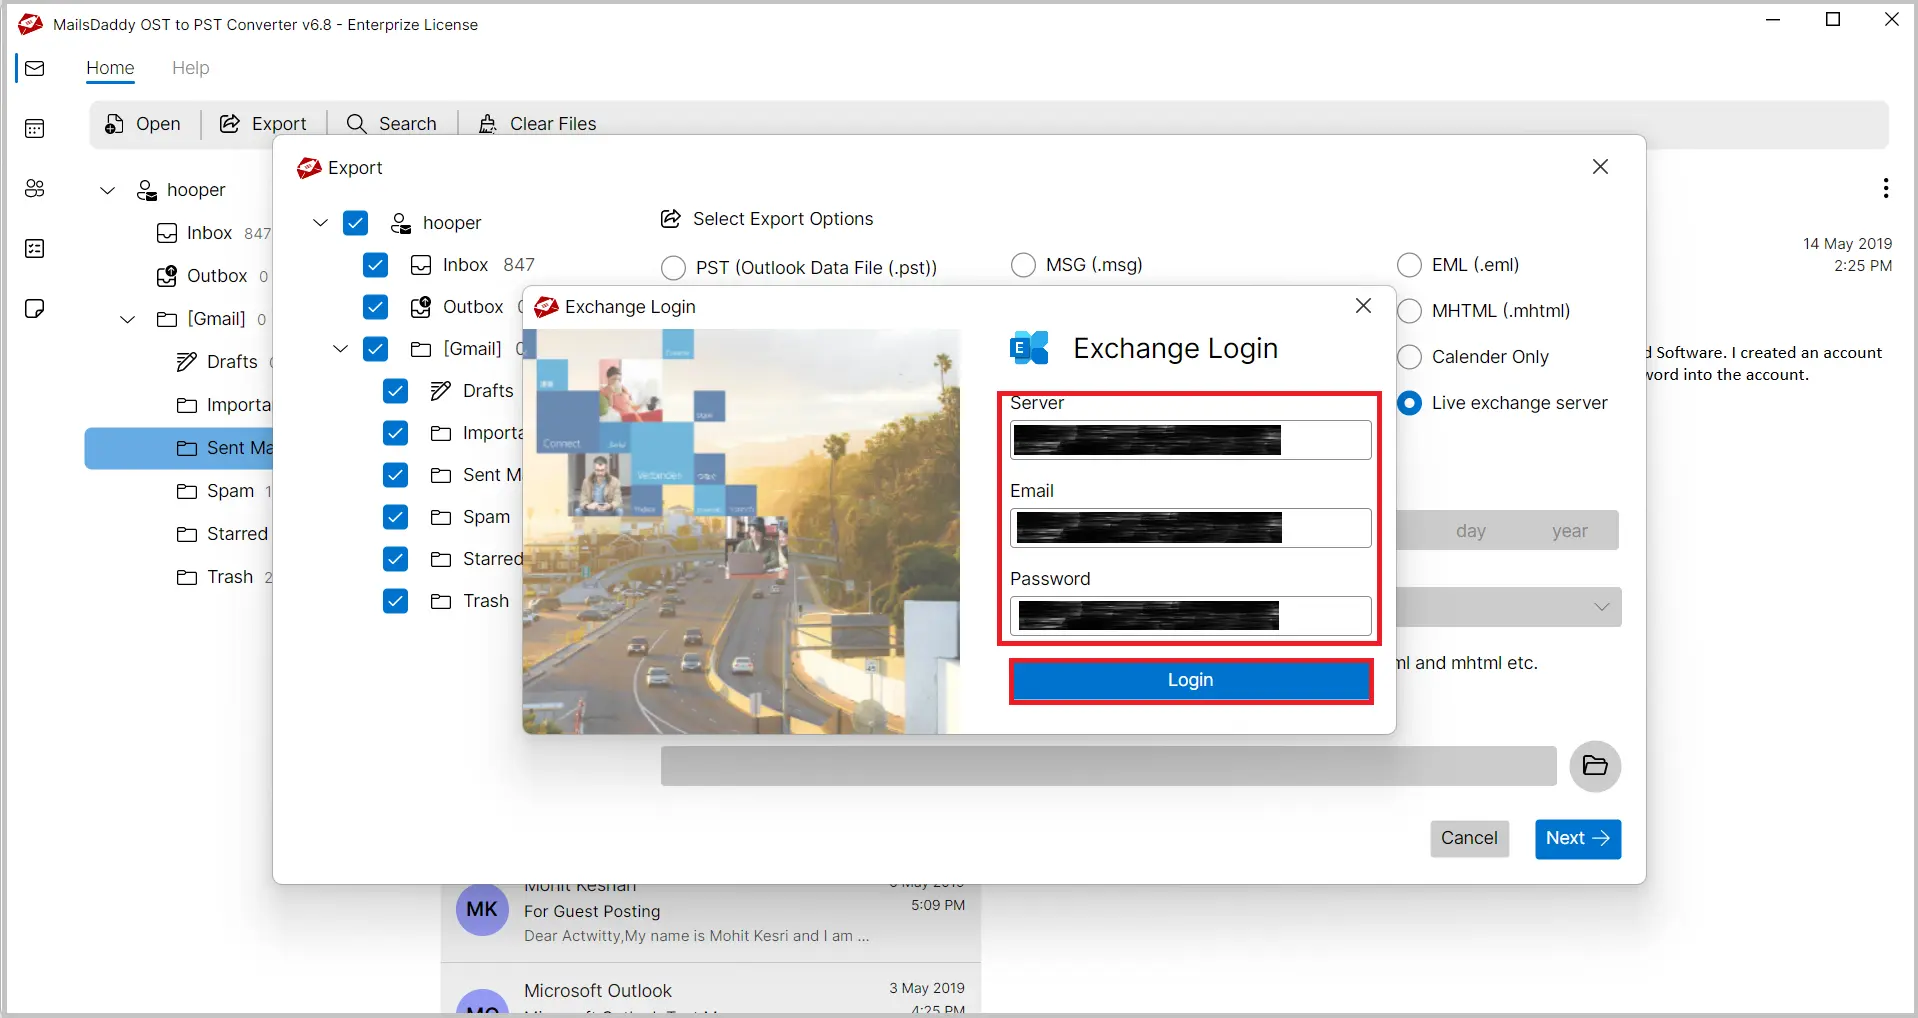
From the Export Window, click on the Live Exchange Server option and apply the filter (optional), and then click on the Next button .
Next
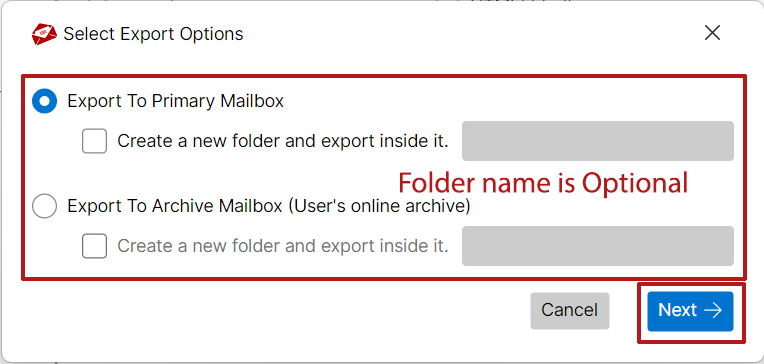
From the Export to Exchange Window, Choose the Primary folder or Archive folder option and choose the (optional) advanced filter, and then click on the Next button.
Sign-in button
Insert the login credentials for the Live Exchange Server account and hit on the Sign-in button .
Process OLM to Office 365 Migration Mailbox
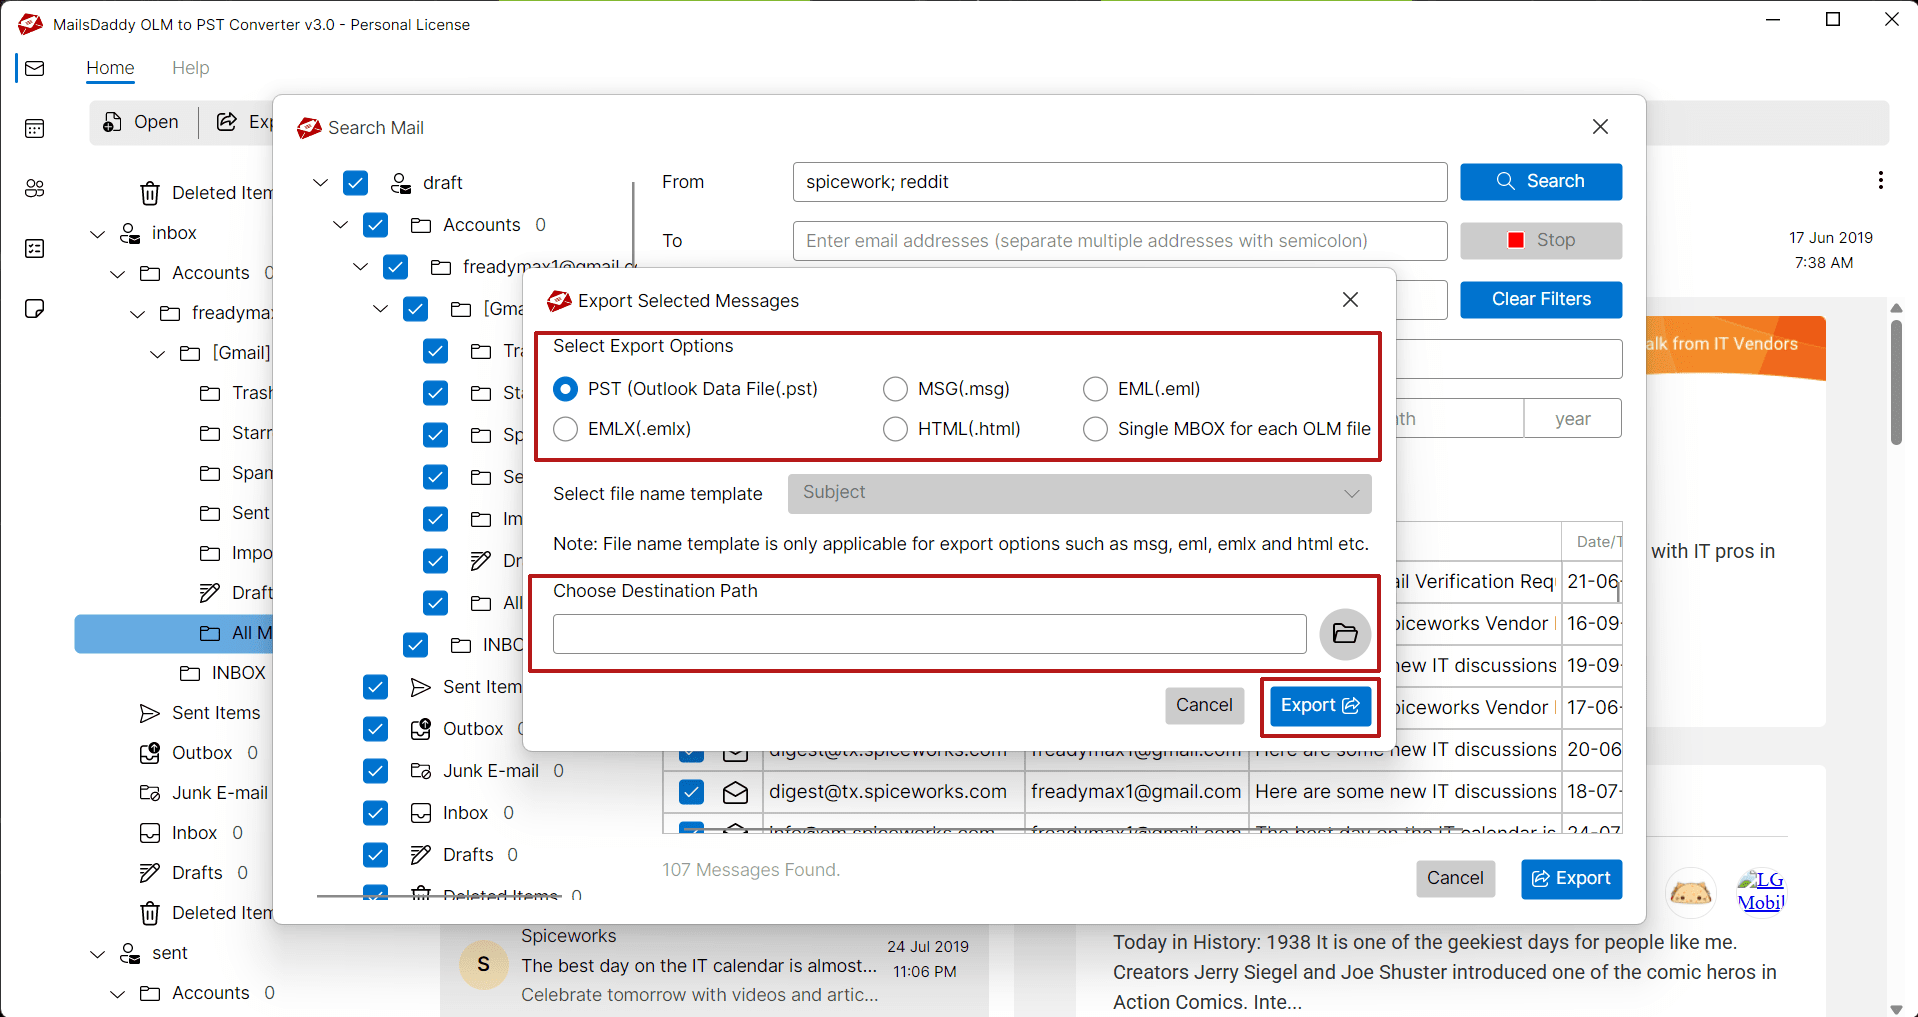
The tool facilitates the users to convert only selected mailbox data in place of complete OLM to PST Conversion. This option reduces the process time interval and provides a full result without any data loss.
Search Mail
Search Mail
Ready to Start with OLM to Office 365 Migration?
Download the free trial version to preview all mailbox items or buy the full license for unlimited conversion.