Step1- First of all Download and Install the MailsDaddy Outlook PST Repair software and activate with genuine licensed activation KEY.

Step2 - Open the Outlook Recovery software and click on Add File option.

Step3 - Now browse and add the corrupted PST file by clicking on icon or icon.

Step4 - After adding the PST file in Outlook PST Repair software, click on Scan button to analyze the errors and bugs in damaged or corrupted PST file. >> Click on OK button.

Step5 - Now PST file is successfully loaded in the software for repairing. You will get the confirmation window when it will finish. >> Click on OK.

Step6 - Now the Outlook Repair software is ready to show the complete PST file preview. Go to left panel of the software and click on your mailbox folder. You can see the complete mailbox data from here.

Step7 - If you want to save any single mail or some numbers of emails then select that email and right click on the mouse. You can save selected email in these given format in local hard drive folder.

Step8 - MailsDaddy PST Repair software exports the repaired PST file mailbox data by using 2 option-

Step9 - Now you have a window, from there you can export repaired PST file mailbox as per your requirements –

Step10 - MailsDaddy Outlook PST Repair software provides an option to export corrupted PST mailbox to healthy PST, MBOX, MSG, MHTML, and EML formats.
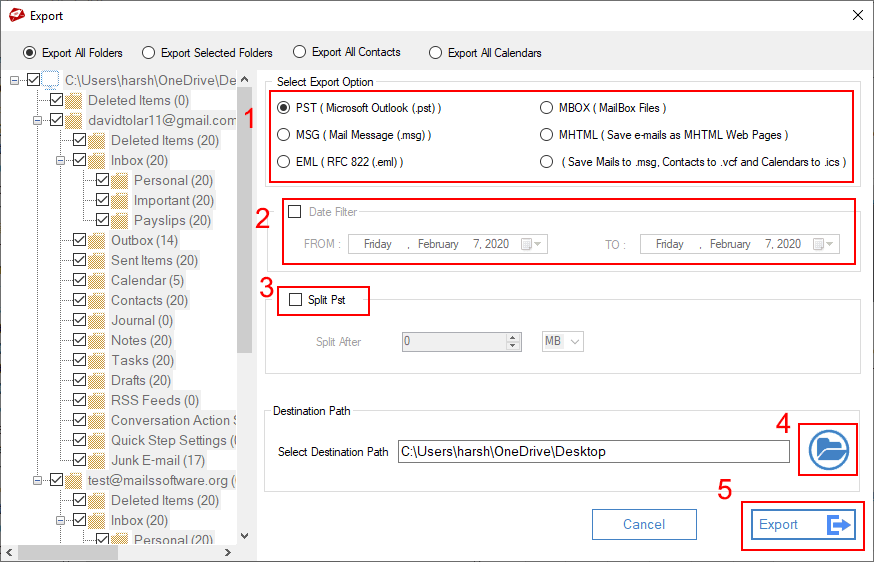
Step11 - The export progress window will pop up like this-

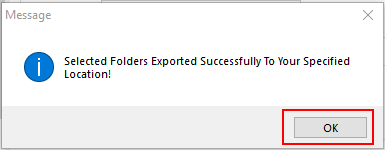
Step12 - After successfully PST file conversion, you will get a confirmation message. The task is completed now >> Click on Ok to finish.
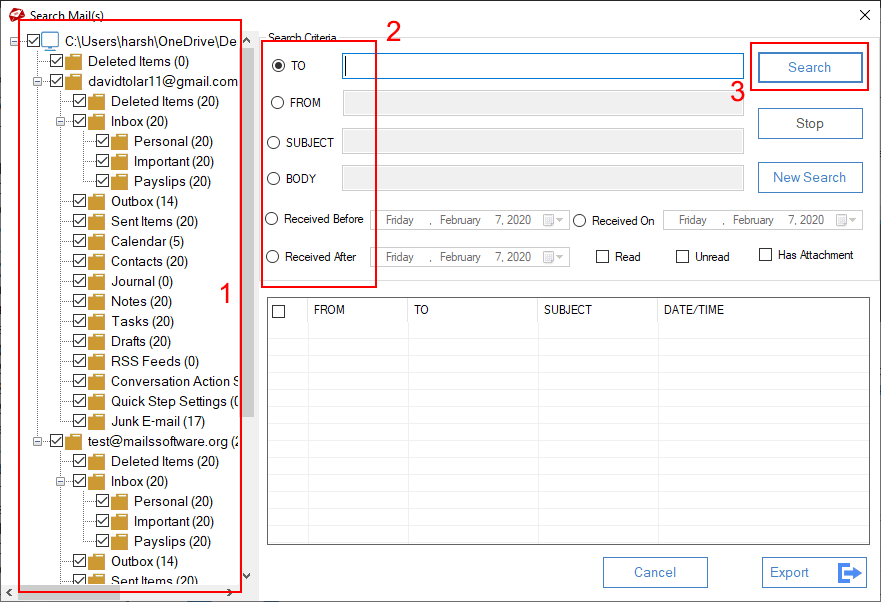
Step1 - Click on Search Mail (s) option

Step2 - Select mailbox folder from the left panel >> Select option (To, From, Subject, Body, Received Before, Received On, or Received After) to search emails from Search Criteria >> Click on Search button.
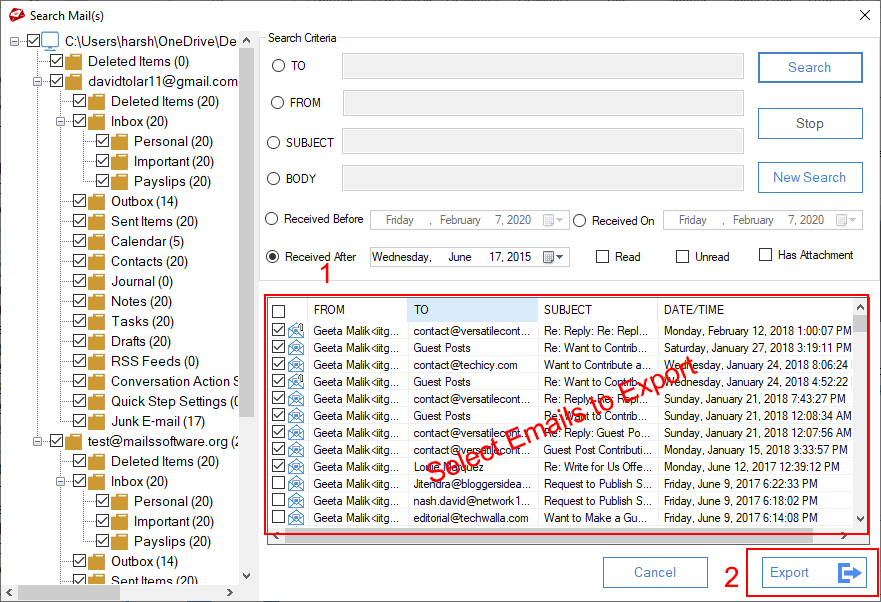
Step3 - After receiving the searched emails from selected mailbox folder >> Select emails >> Click on Export button.
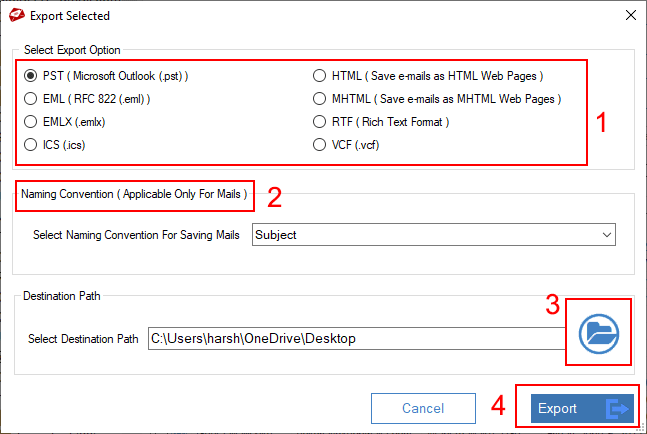
Step4 - Now select any option to export PST emails >> Provide Naming Convention (Its optional) >> Provide Destination path >> Click on Export button
Step5 - After completing the exporting process, you will get a message.