This article will help you to Download the Lotus Notes from the official website of IBM and guide you in each step of the installation of Lotus Notes in the local machine and describe the entire step, in brief, to configure IBM Lotus Notes client with your account.
To Migrate Lotus Notes NSF to MS Outlook or Office 365 using MailsDaddy NSF to PST Converter and Lotus Notes to Office 365 Migration software it is compulsory that IBM Lotus Notes must be installed in local machine and configured with an email account.
Table of Content
- How to Download IBM Lotus Notes from IBM’s official website?
- How to Install the IBM Notes client on your Windows Machine?
- How to Configure IBM Notes account?
Let’s start with the downloading process.
How to Download the IBM Notes in the local machine?
Step 1: Create an account on IBM to get an IBM Id.
Step 2: Sign in using that particular IBM Id to start the download.
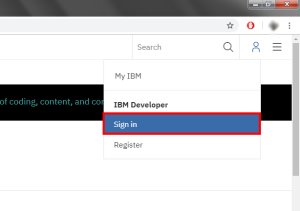
Step 3: Fill the IBM Id and password field to sign-in in IBM.
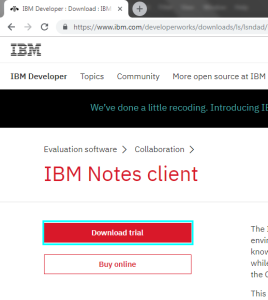
Step 4: Browse the following link on the browser.
Link: https://www.ibm.com/developerworks/downloads/ls/lsndad/index.html
Step 5: Click on Download trail button to go to the download page.
Step 6: Select the Download using Direct Director and choose the option of Lotus Notes suitable for Windows platform.

From the bottom select, I agree from the license option and click on I confirm to continue.
NOTE: Sometimes the download doesn’t start from here so here is one more option to download.
Step 7: Select Download Using Http Option and select the required option then click on I Agree option.

Step 8: Provide the saving destination to store the .exe file of IBM Lotus Notes to start the downloading.
Step 9: Click on the finish when downloading is completed.
Now Lotus Notes is downloaded at the given location in your local storage. Let’s move to the installation process.
How to Install the Lotus Notes in the local machine?
The next step after the download is how to install the Lotus Notes in Windows.
Step 1: Create a folder at that location where you want to save the Lotus Notes installation files.
Step 2: Run the Lotus Notes setup (.exe file).
Step 3: From the dialog box select one of the options as per need and provide a file saving location to the IBM Lotus Notes and wait till the IBM extractor is extracting the files.
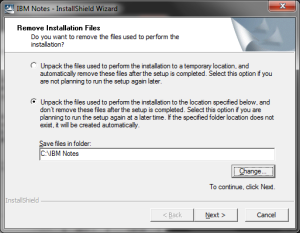
Step 4: Click on Next to start the preparation of installation and click on Next in Install wizard.
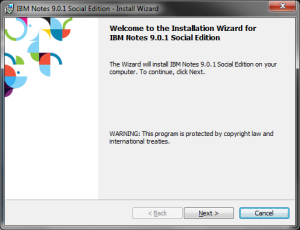
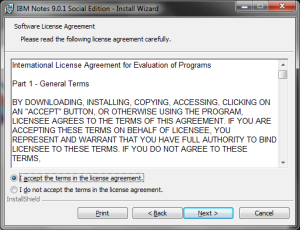
Step 5: Read the license agreement and select I accept the term in the license agreement and click on Next.
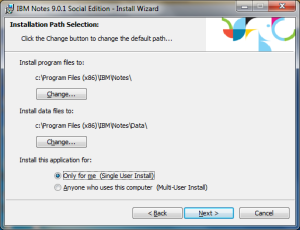
Step 6: Select any one option from the next dialog box and click on Next.
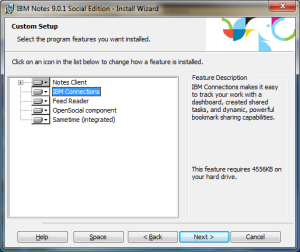
Step 7: In Custom Setup Window enable the IBM connection as active and click on Next.
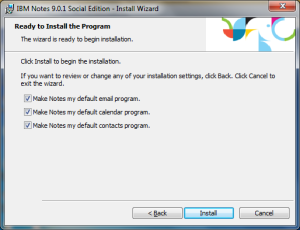
Step 8: From the next dialog window check the checkboxes as per requirements and click on Install.
Step 9: Please wait till the installation is completed and click on Finish.
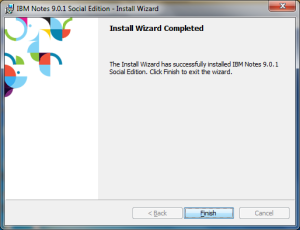
Now Lotus Notes is Installed in the local machine let configure it with the email account.
How to Configure IBM Lotus Notes email client?
Step 1: Open the Lotus Notes Desktop application.
Step 2: In Lotus Notes Welcome Window click on Next button.
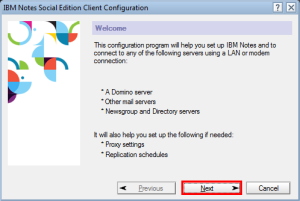
Step 3: Fill your name and Domino server name in user information Window and click on Next.
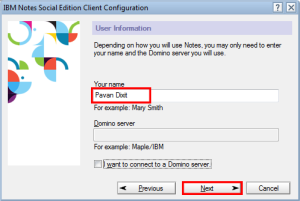
Note: If you don’t want to connect to the Domino server just uncheck I want to connect to a Domino server option.
Step 4: In Additional Services Window one of the options must be checked to continue the process of configuration. After check one of the given options click on Next.
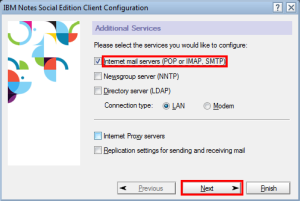
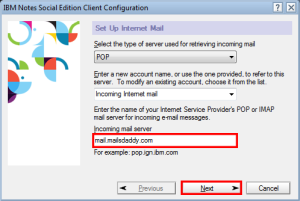
Step 5: In Setup Internet mail Window select POP or IMAP as per requirement and provide Incoming mail server name and click on Next.
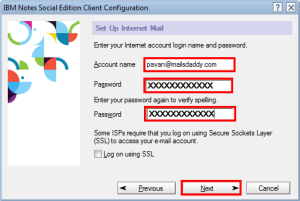
Step 6: In Setup Internet mail Window provide the Account Name and the Password and click on Next.
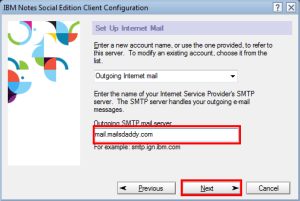
Step 7: Give an Outgoing SMTP mail Server name and click on Next.
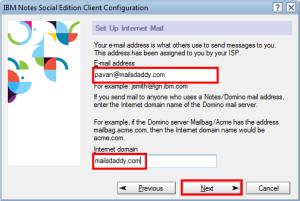
Step 8: Fill the E-mail address and Internet Domain name then click on Next.
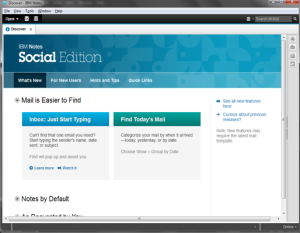
Step 9: Open Lotus Notes email client in the local machine.
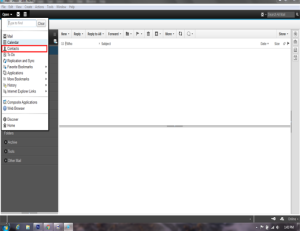
Step 10: Click on the Open option and select Contacts.
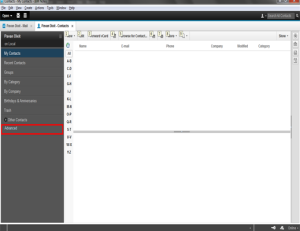
Step 11: Select the Advanced option.
Step 12: Double click on Outgoing Internet mail.
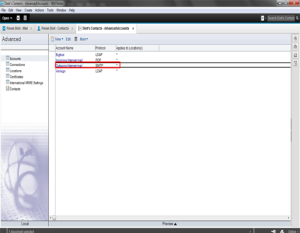
Step 13: Click on Edit Account.
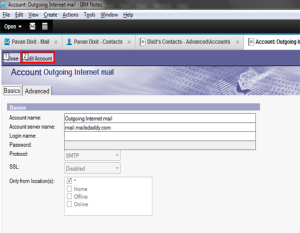
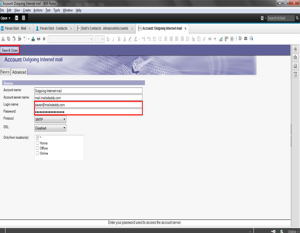
Step 14: Fill the Login Name and the Password fields and click on save and close.
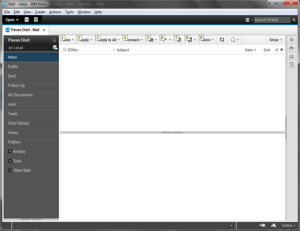
Step 15: Click on the Open option and select the Mail. All the NSF emails will appear in this section.
Now the Lotus Notes is downloaded and installed in the local machine and configure IBM Lotus Notes with the email account.
When the configuration is finished you will able to store your emails, maintain an address book and create a calendar event and also it helps you to Convert NSF to PST and Lotus Notes to Office 365 migration using our products.
