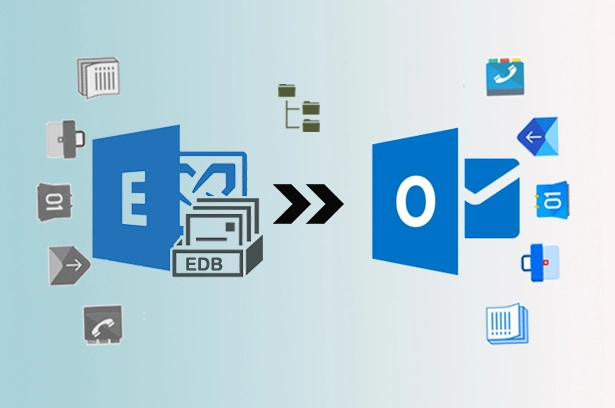
What is Hybrid Migration?
Hybrid migration is a process where both Exchange and Office 365 exist in a hybrid deployment. It allows the presence of data in both On-Premise Exchange and the cloud mailbox of Office 365. This allows users to work more effectively with the data. The hybrid connection also makes the Administrator have an integrated control on both platforms that are Exchange Server and Exchange Online.
How to Migrate Exchange Mailbox to Office 365?
Before migrating Exchange Server to Office 365:
- Create migration endpoints
Creating endpoints is very necessary for any migration process from Exchange to Office 365 Platform. Therefore, before hybrid migration, it is significant to follow this step. To the steps for endpoints creating visit: https://www.mailsdaddy.com/blogs/create-migration-endpoints-office-365-exchange-online/
- Enable MRS Proxy Serer
The second important requirement is the enabling of the MRS Proxy Server. MRS also called as Mailbox Replication Service, its permission is necessary as MRS contains proxy endpoints that are needed for Exchange to Office 365 migration.
To permit MRS Proxy Server, follow the givens steps:
- Open On-premise Exchange and from its admin center go to Servers and then Virtual directories.
- Choose Client Access Server, then EWS Virtual directory and then Edit.
- Select the checkbox for MRS Proxy Enabled and then save.
How to migrate from Exchange 2013, 2016, 2019 to Office 365?
Below are the steps for Exchange to Office 365 Hybrid Migration.
- In Exchange organization, go to Office 365 Admin page.
- Go to Recipients and then under Migration.
- Click on the plus symbol (+) and choose Migrate to Exchange Online.
- Select Remote move Migration and hit the Next Button.
- Again, click on the plus sign (+) and select members on Select the user page.
- Then click Add and hit the OK button. Now, click Next.
- Type the Exchange Admin account name and password and click next. Now, you will receive endpoints confirmation.
- Verify Exchange Server FQDN number and hit the Next
- Enter the migration batch name and using the arrow choose Target delivery domain for the mailboxes that are migrating to Office 365.
- Select Move Primary mailbox along with Archive mailbox and hit on Next.
- Now, on the start batch page, it is required to select at least one recipient to receive the batch complete report.
- Select automatically start the batch, then select the checkbox automatically complete the migration batch and then new.
After Exchange to Office 365 migration:
- Remove completed migration batch
After the completion removes the migration batch following the below steps:
- Go Office 365 in Exchange, then Recipients.
- Under migration, hit the migration batch that you wish you delete, and then click Delete.
- On the deletion of the batch, a warning confirmation dialog will appear, hit yes.
- Re-enable offline access for OWA
After completion of the batch migration from Exchange to Office 365, it is also required to enable the offline accessing of the Outlook Web App. Users need to reset the setting of the offline access in the browser for using Outlook on the web offline.
- Verify the process is working.
Open the EAC and select Office 365 > Recipients > Migration to display the move status for the mailboxes selected in the remote move wizard. The value of the Status is Syncing during the mailbox move, and it’s Completed when the mailbox has successfully moved to either the on-premises or Exchange Online organization.
Conclusion:
In this blog, you have learned How to Migrate Exchange Mailbox to Office 365. Hybrid migration is one of the complex tasks; however, it provides a better experience than Cutover, IMAP, and Staged Migration. Users easily perform the Exchange Server to Office 365 migration using the above step-by-step method.

