Office 365 is a Cloud-based environment to provide various functionalities over Cloud. A platform to provide easy access for storing a large amount of data, easy sharing of documents, wide-range collaboration through video calls, etc. For saving a backup on the device through Outlook, it is required to configure o365 into on-premise MS Outlook. Here, I am going to discuss the entire steps needed to configure Office 365 to Outlook. Below are the steps for setting up Office 365 accounts in Outlook.
Step 1: To add Office 365 account to Outlook, go to the Control panel of the system and there click on Mail (32-bit).
Step 2: A new dialog box will open named Email Setup-Outlook. Click on E-mail Accounts. It will let you show all accounts configured in MS Outlook.
Step 3: Hit on the New option under the Email section to add an account to Outlook. It is an account-setting window for manual setup of an account or to connect with other server types. It helps to connect Office 365 to Outlook.
Step 4: Choose “manual setup or additional server types“–> Next.
Step 5: Now, you will get three options which you require choosing accordingly. Here, I recommend selecting the option “Microsoft Exchange Server or compatible services“–> Next.

Step 6: Again, a new window will appear where you need to write the server name as outlook.office365.com and the Exchange Online username. After that, click on More Settings.
Step 7: Under the Security tab, uncheck “Encrypt data between Microsoft Outlook and Microsoft Exchange” and choose “Anonymous authentication” option under logon network security.

Step 8: Under the Connection tab, check the option “Connect to Microsoft Exchange using HTTP“.

Step 9: Enter into Exchange Proxy setting. In this setting option, you will find a connection setting. Provide the URL outlook.office365.com to connect to the Proxy server for Exchange. Again, check on “only connect to proxy servers that have this principal name in their certificate” and under this type msstd:outlook.com in the space provided.

Check on the other two options below that. Keeps the Proxy authentication setting as Basic authentication while connecting to the proxy server for Exchange. In addition, click on OK, again hit on OK.

In the server setting, click on check name option; you will be asked to enter the valid Office 365 username and password. Type the Office 365 credentials and click on OK button–> Next–> Finish.

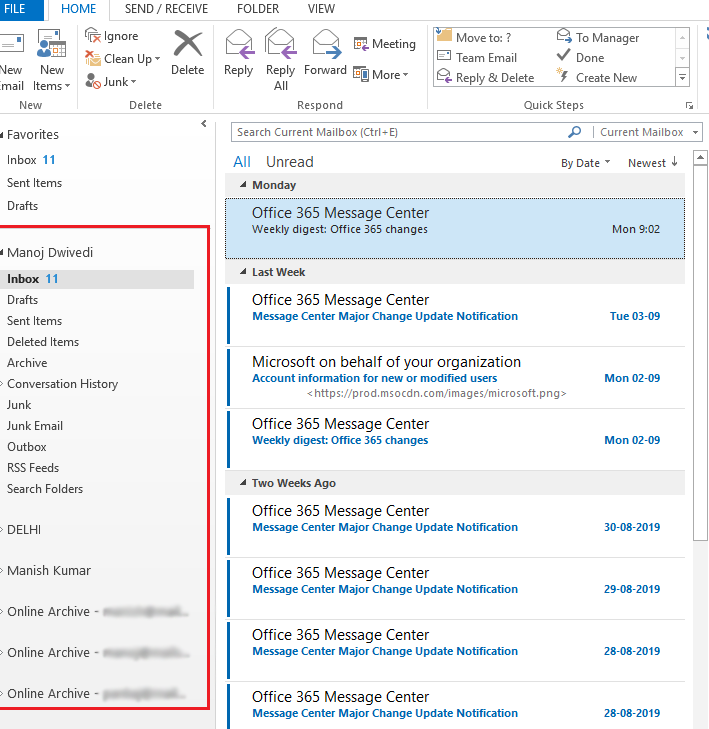
Note: Here in the above pic, I have given Impersonation rights and Full access to the Admin account. Therefore it has also moved all user mailbox associated with this account along with its Online Archive mailboxes.
Conclusion: Through this piece of my writing, I discussed how to configure Office 365 to Outlook. I explained each step involved in the entire process to setup Outlook with Office 365.
